
Selecting a 3DICOM Tier
How to Share a 3DICOM Scan with the List Feature
Quickly share a scan with your team using the 3DICOM List feature. This step-by-step guide walks you through selecting, retrieving, and sharing a scan, so you can collaborate seamlessly and confirm that sharing is complete.
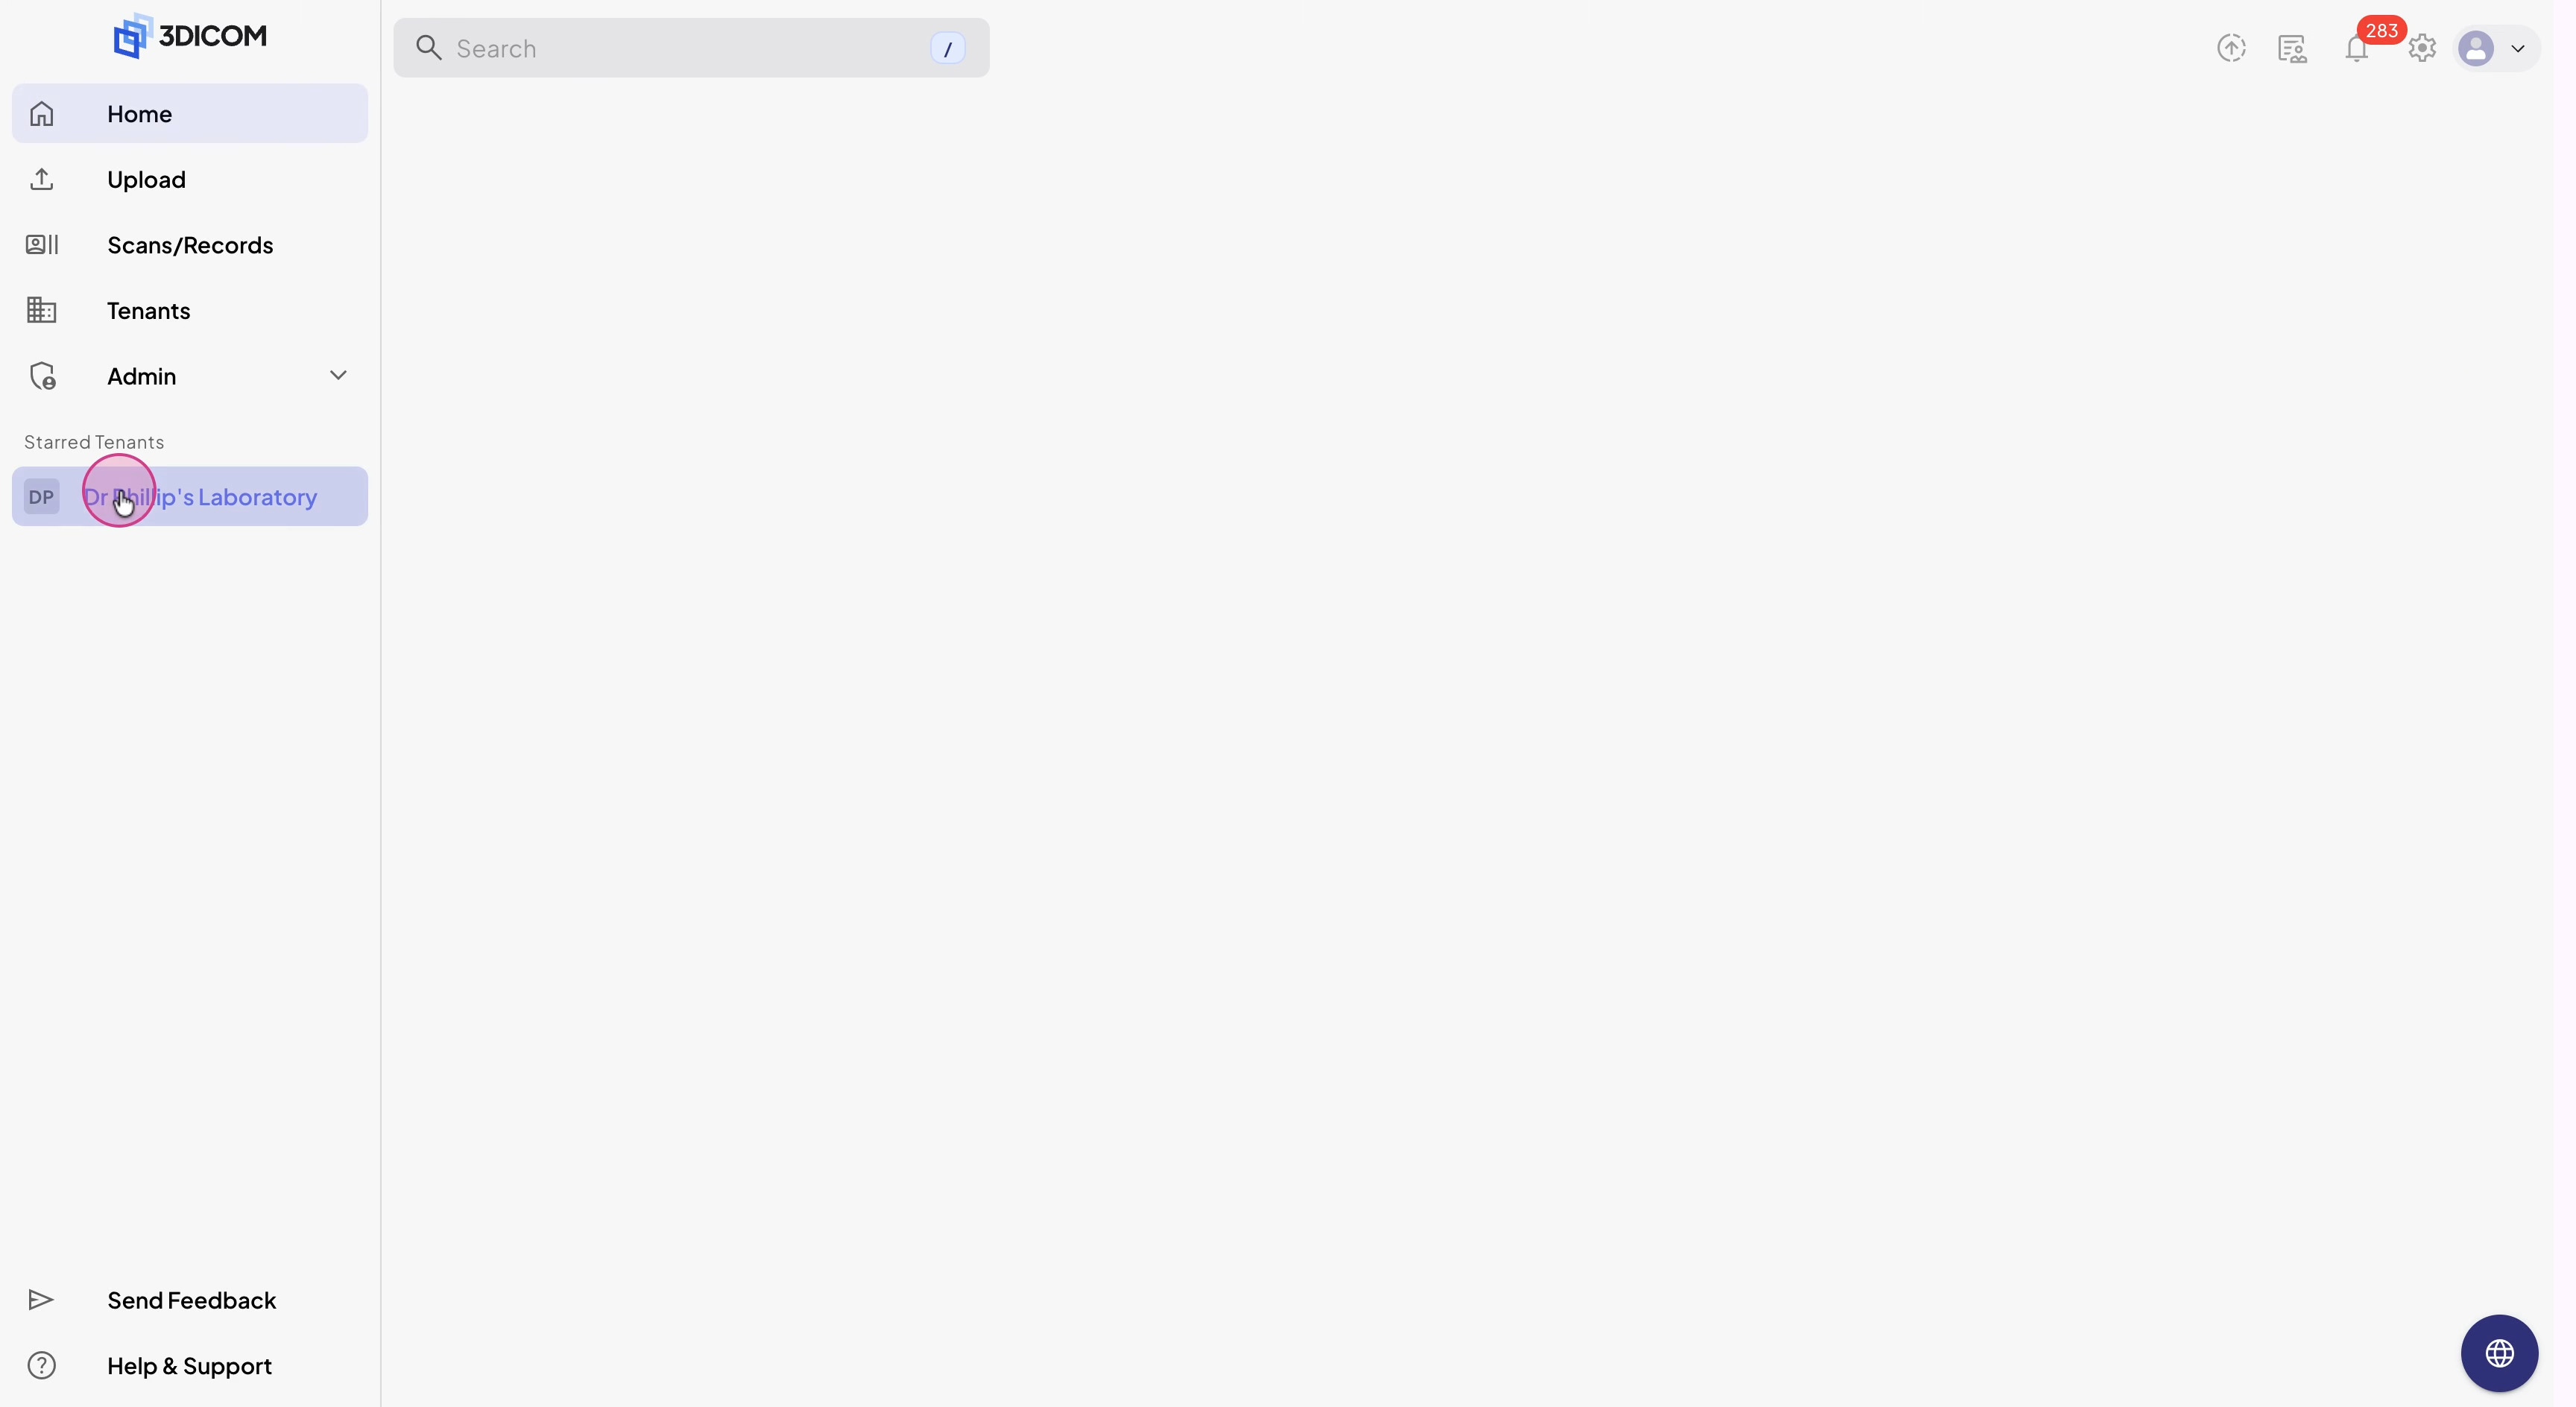
Step 1: Choose Dr Phillip’s Laboratory from the sidebar.
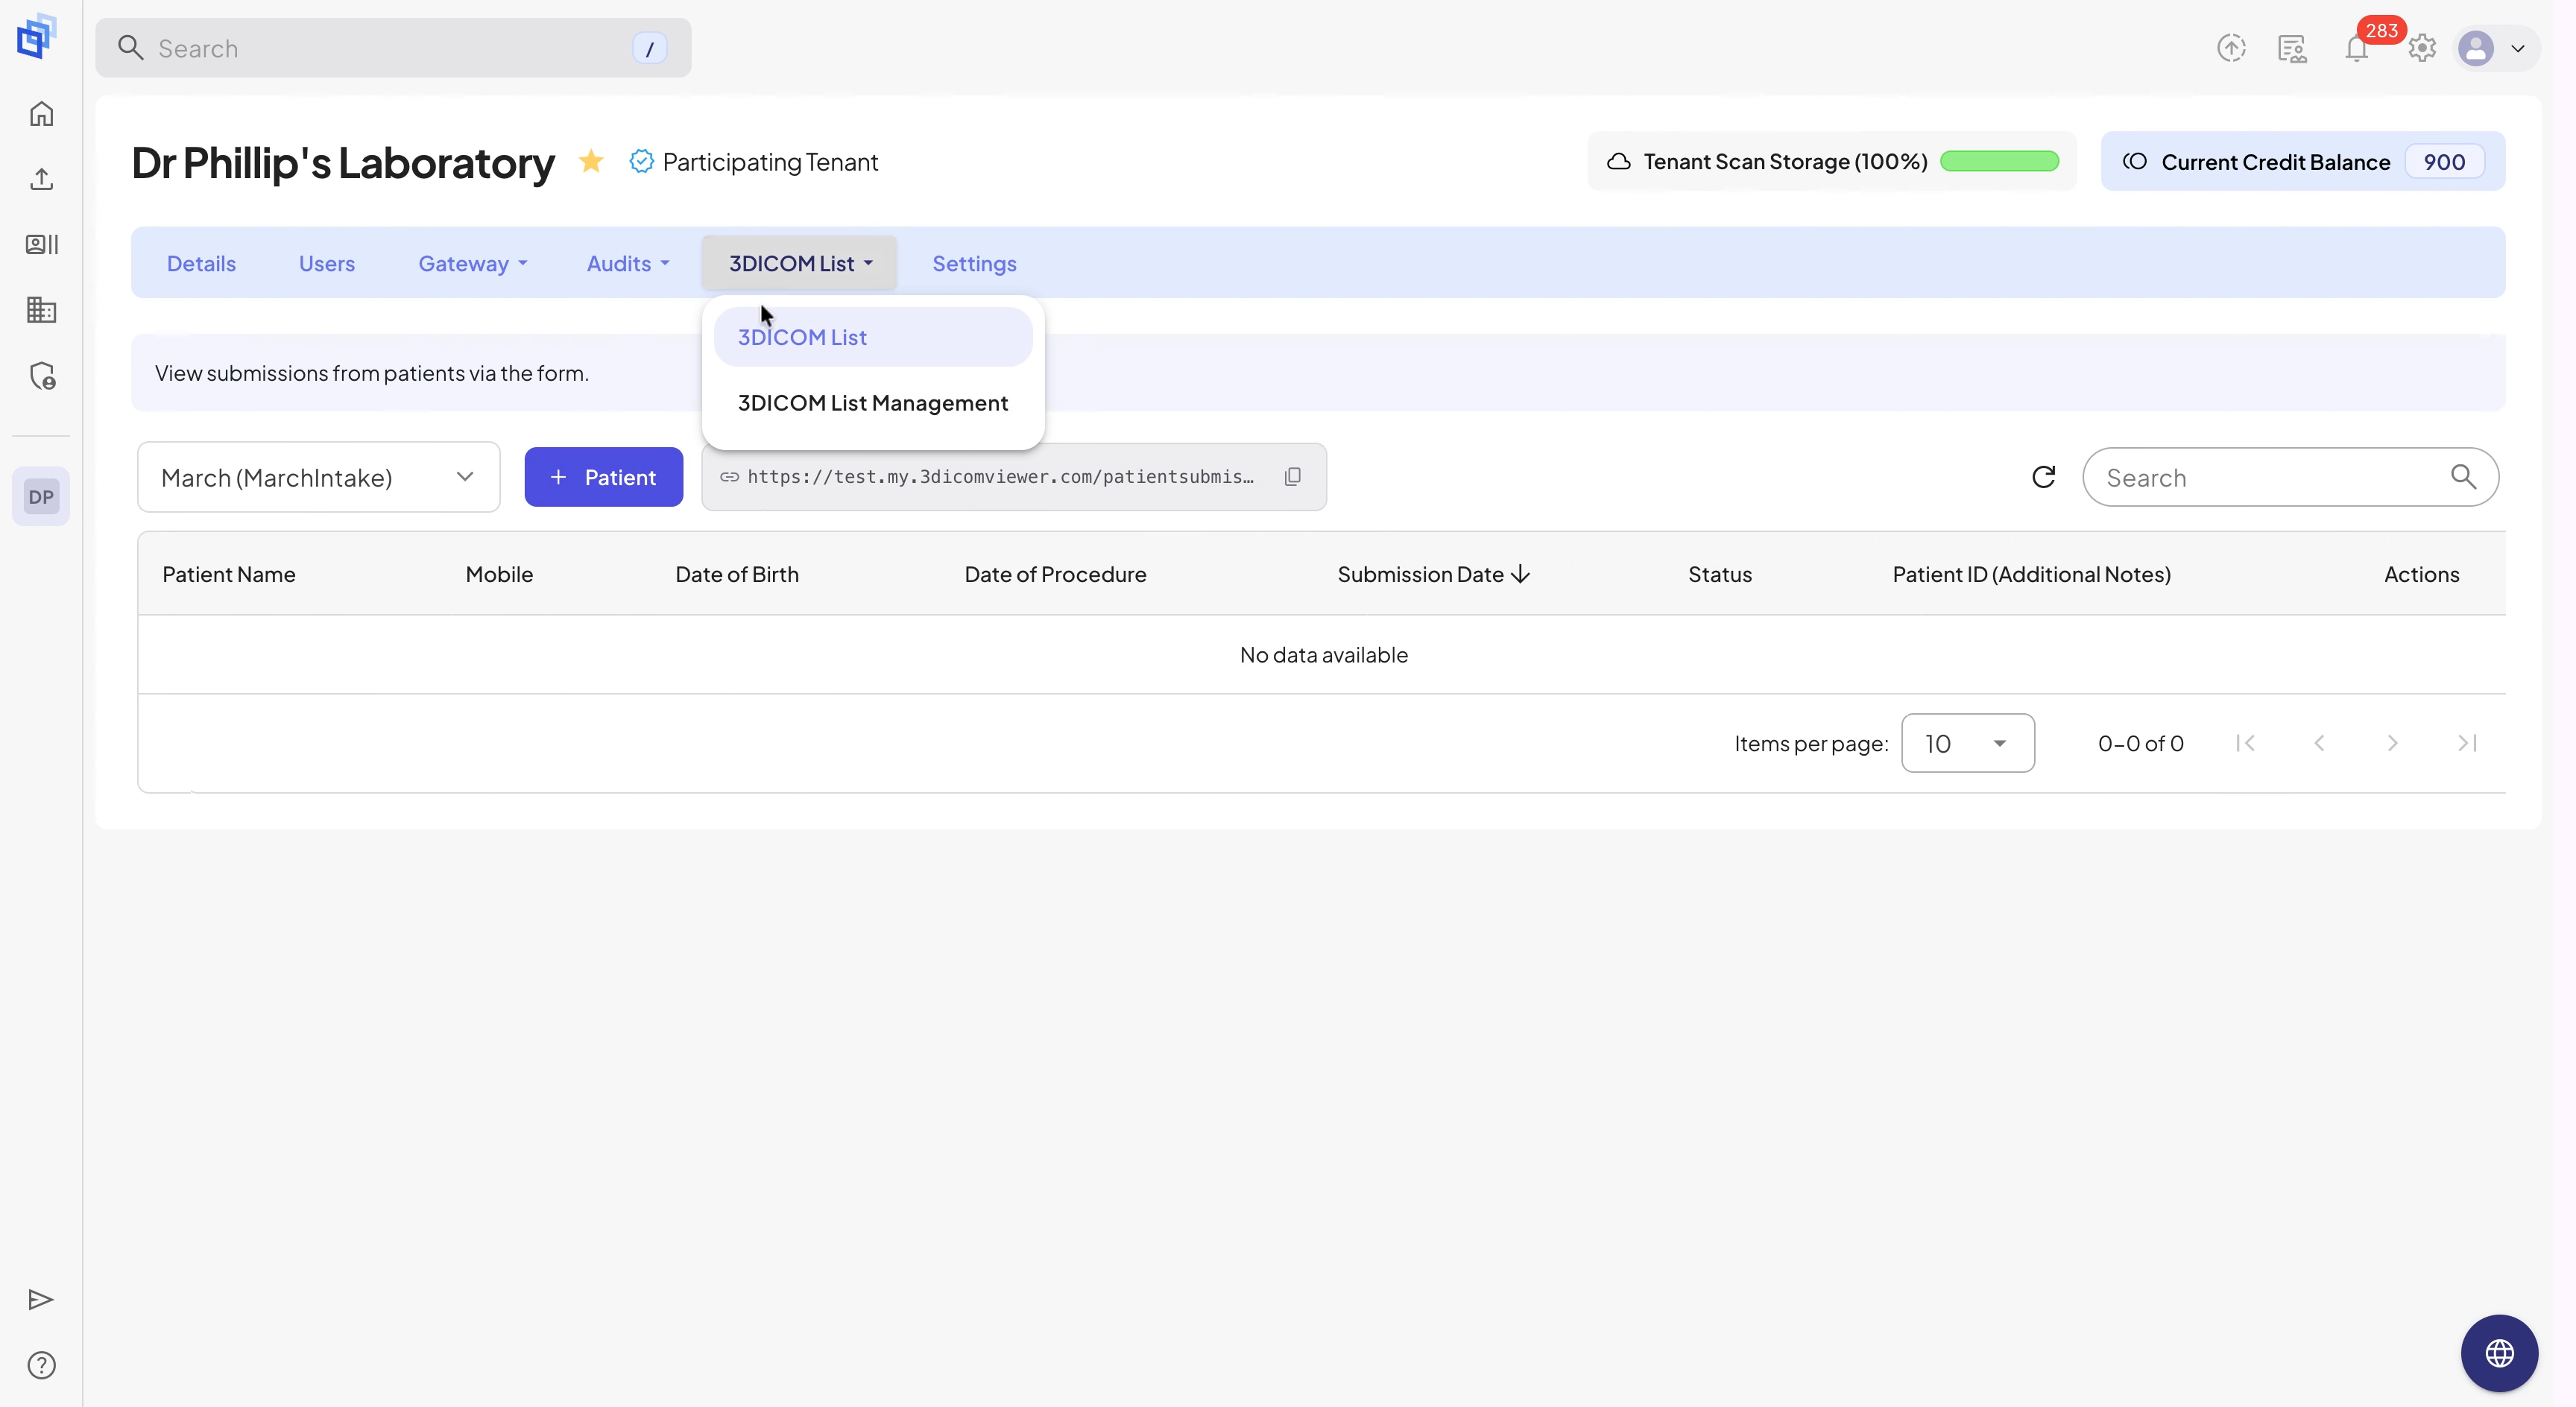
Step 2: Click 3DICOM List in the menu.
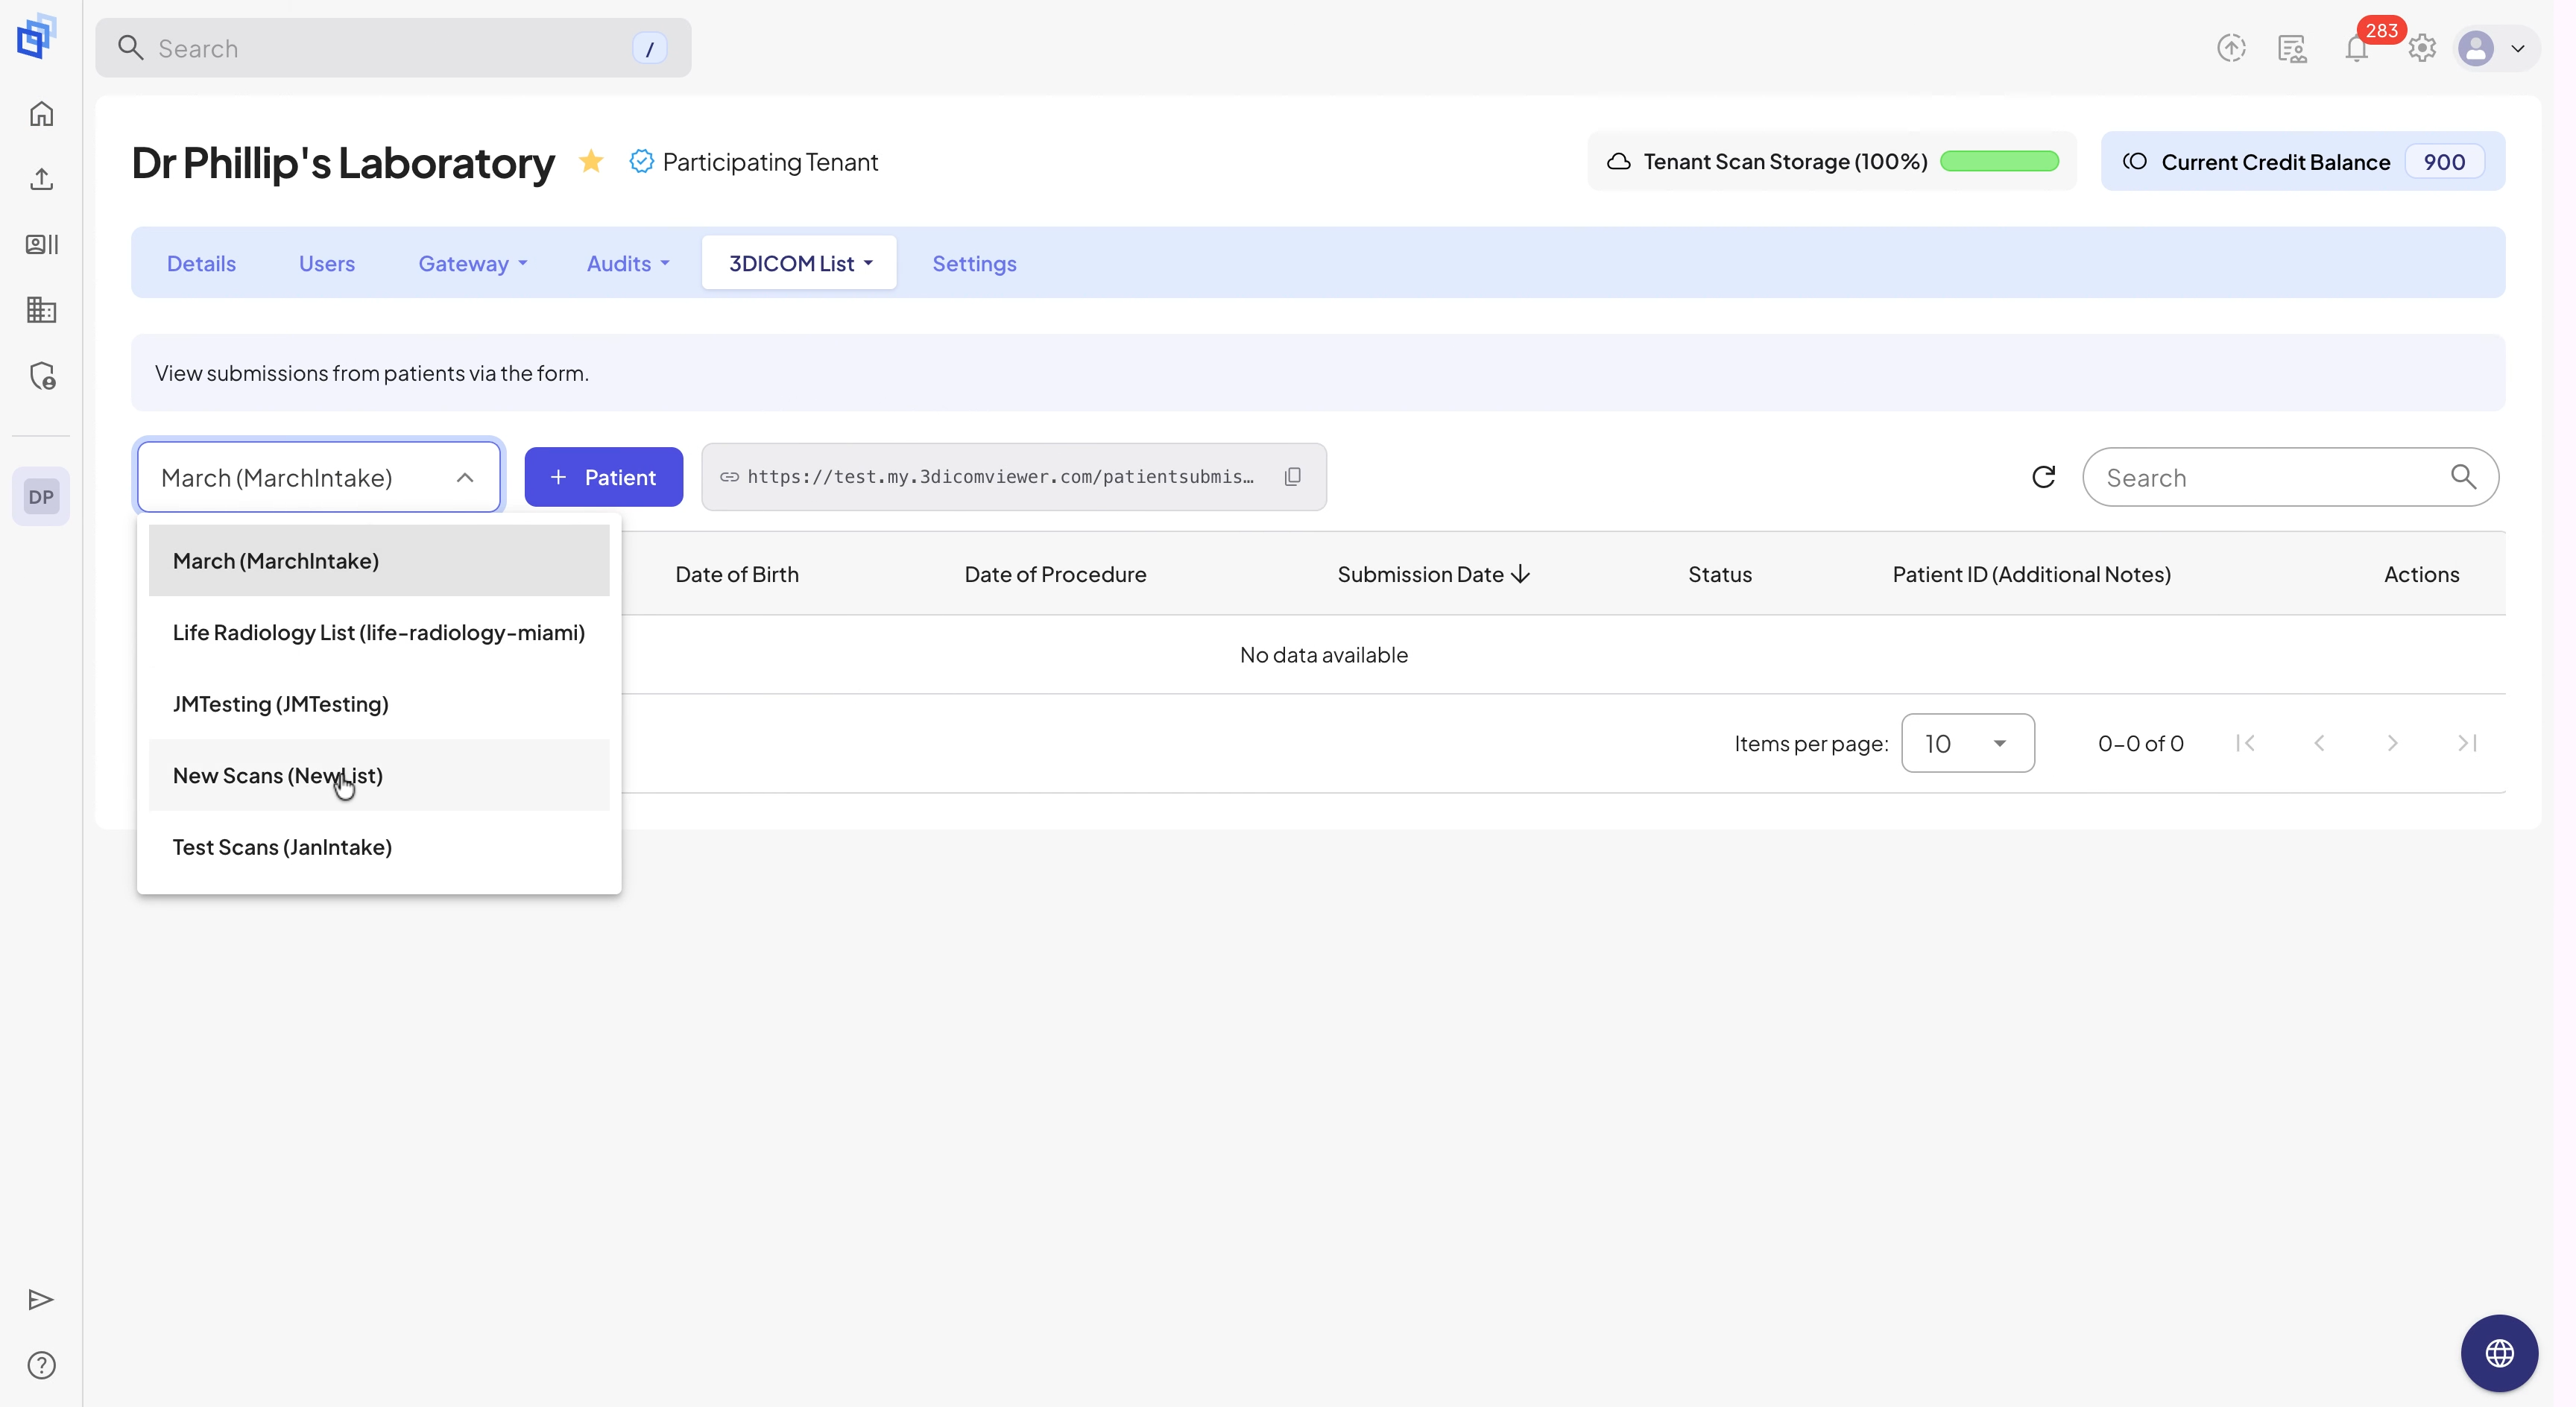
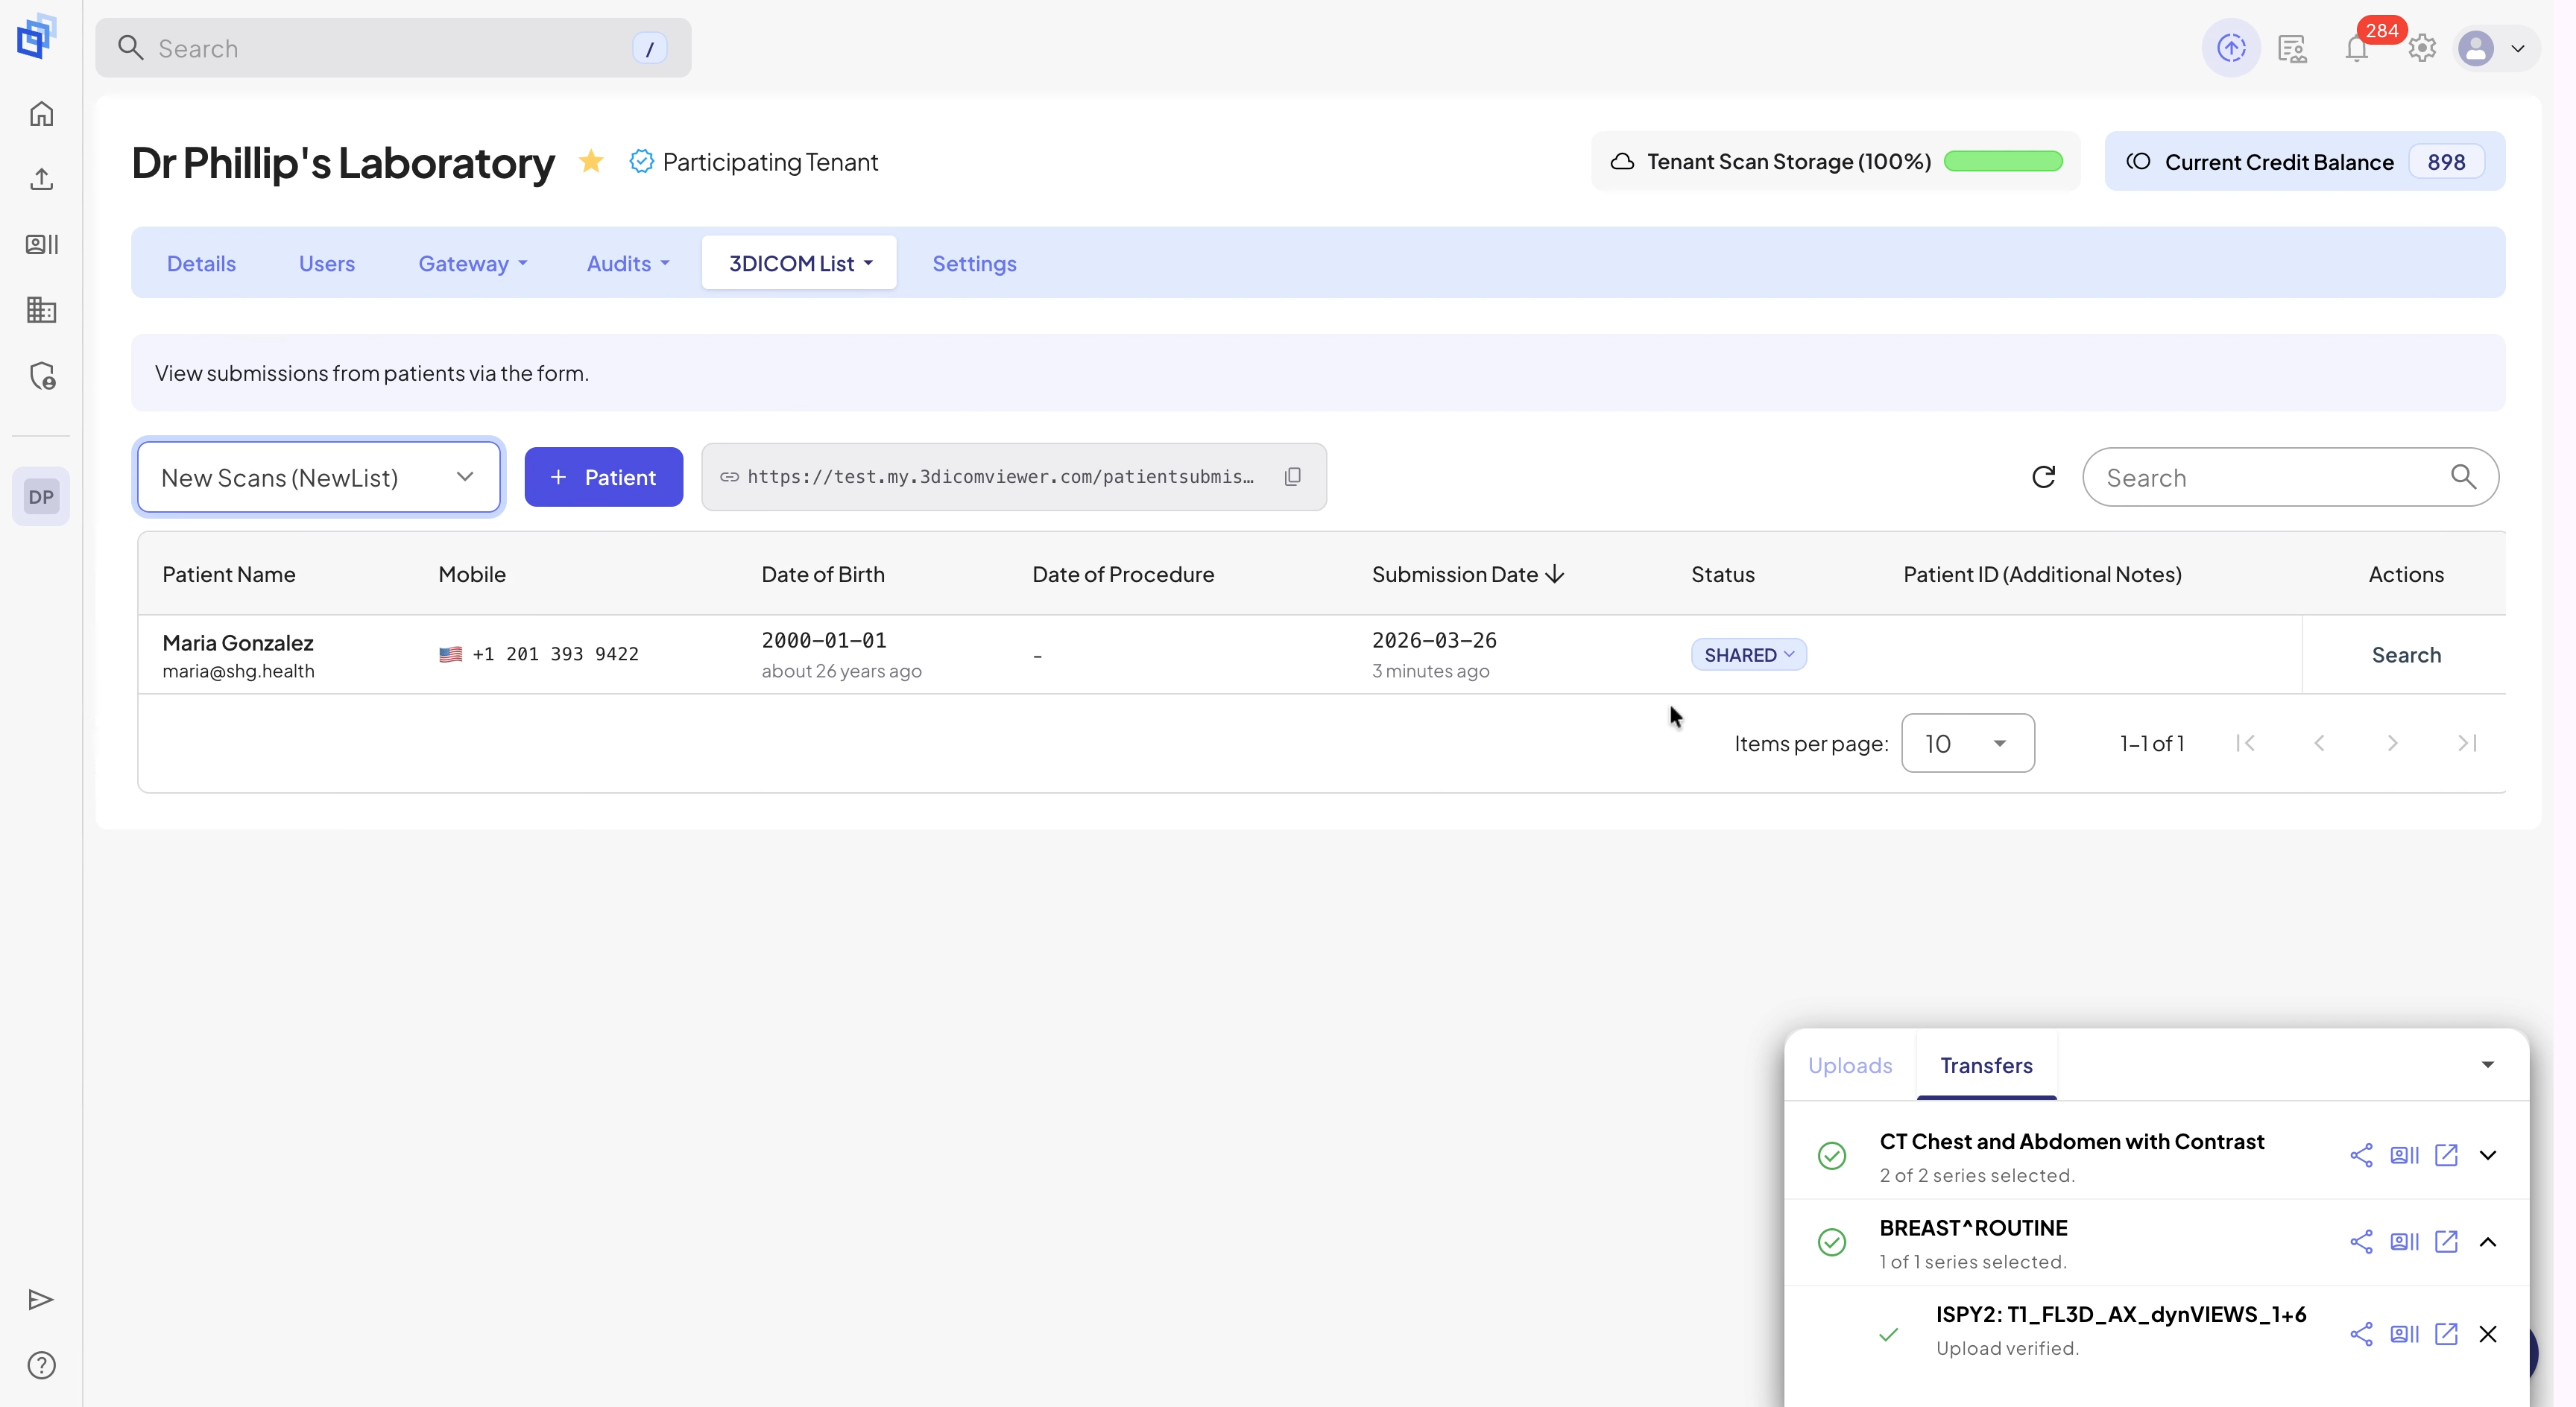
Step 3: If necessary, use the list dropdown in the top-left to pick the correct 3DICOM List.
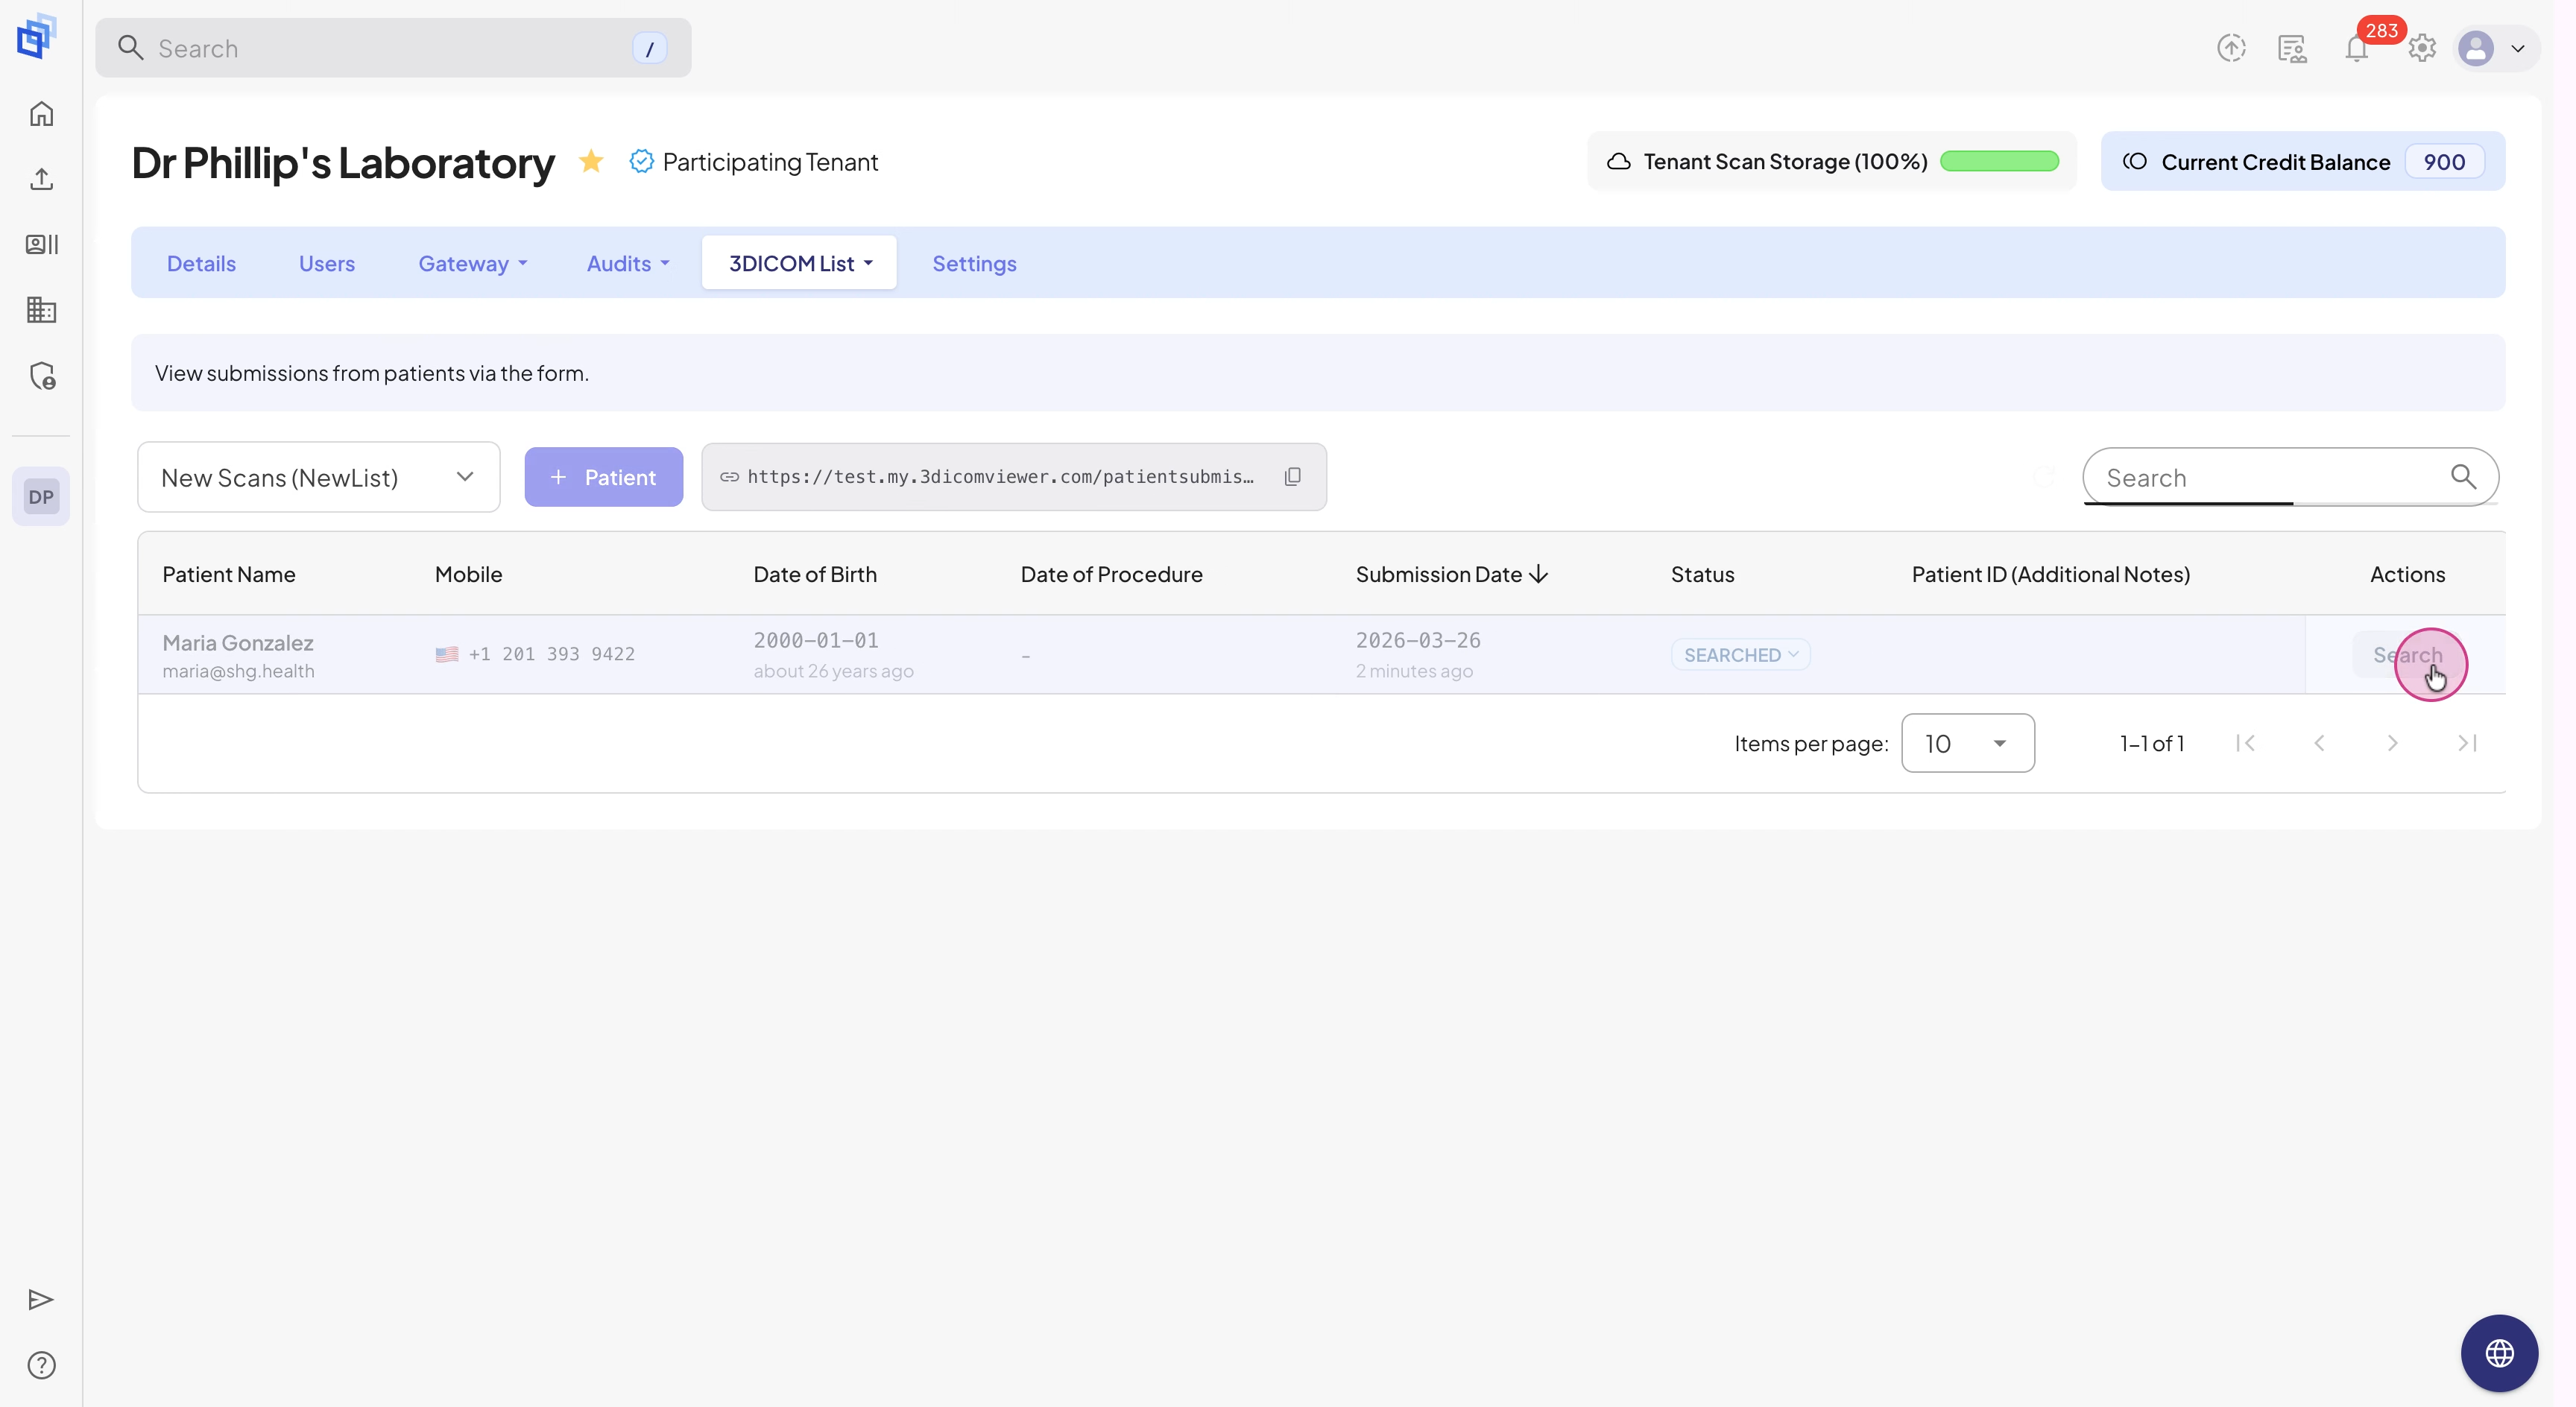
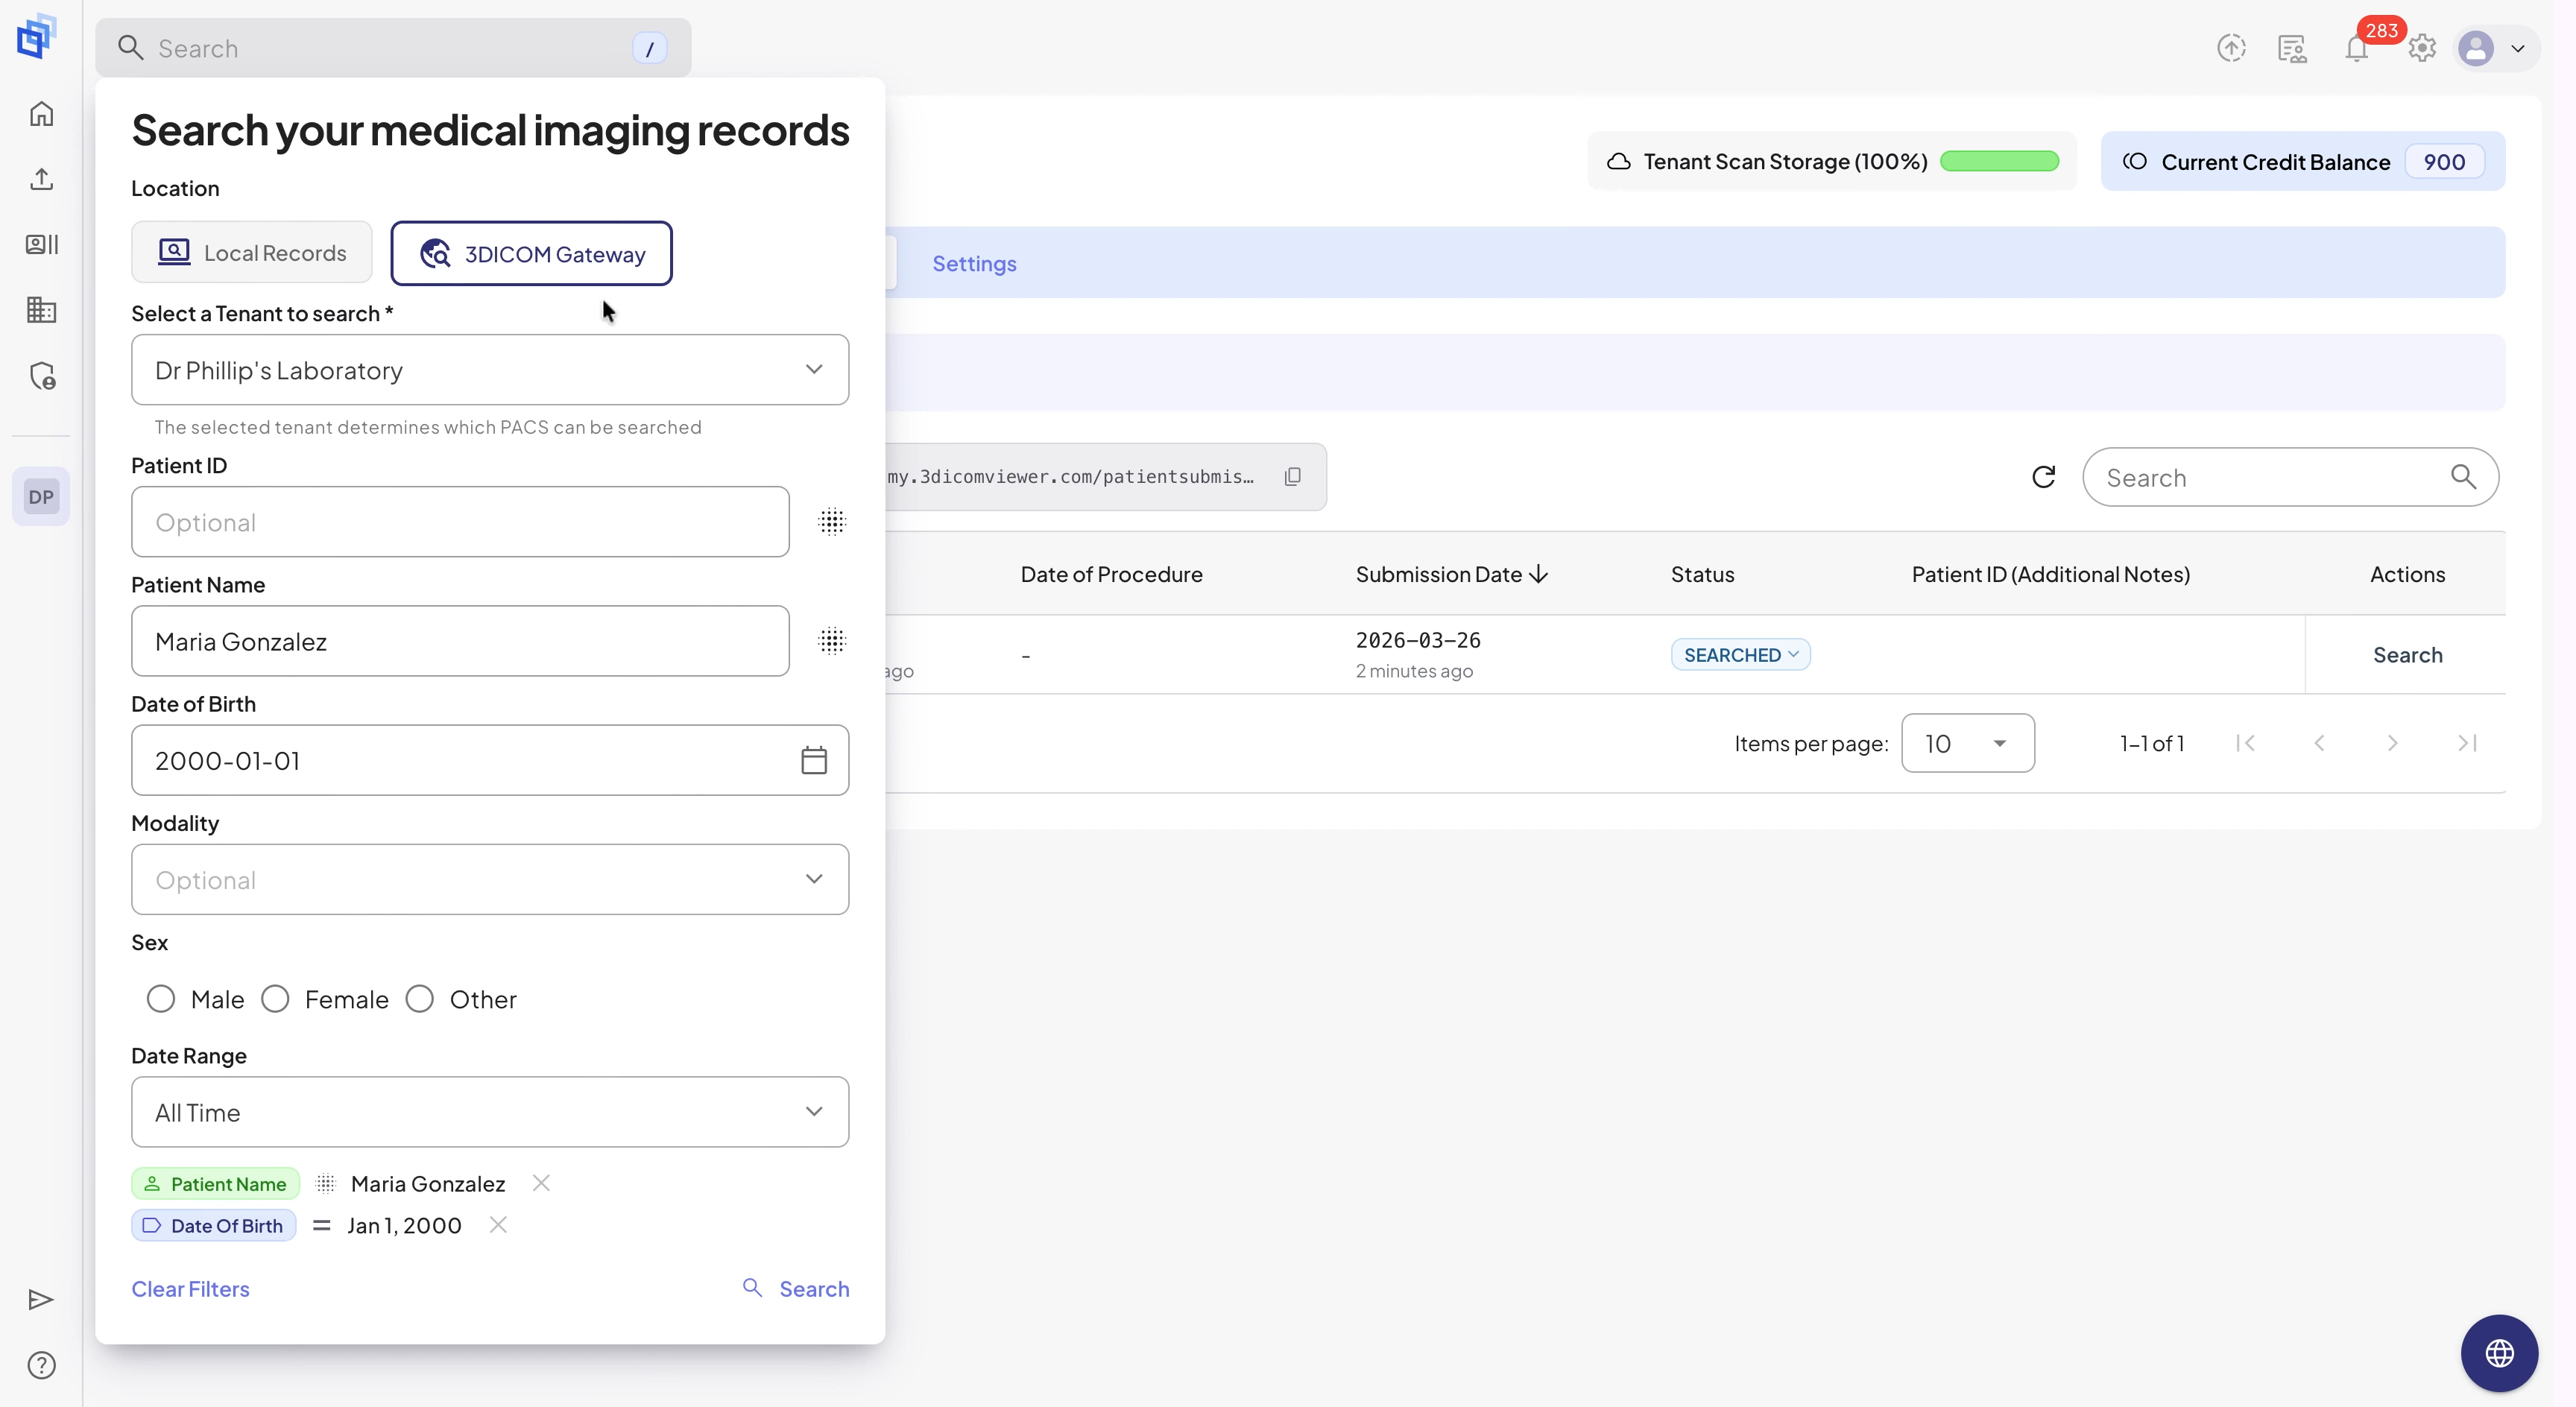
Step 4: Locate the patient using the list search feature.
Step 5: In the 3DICOM Gateway Search window (with patient details filled), review or update the search criteria and select Search.

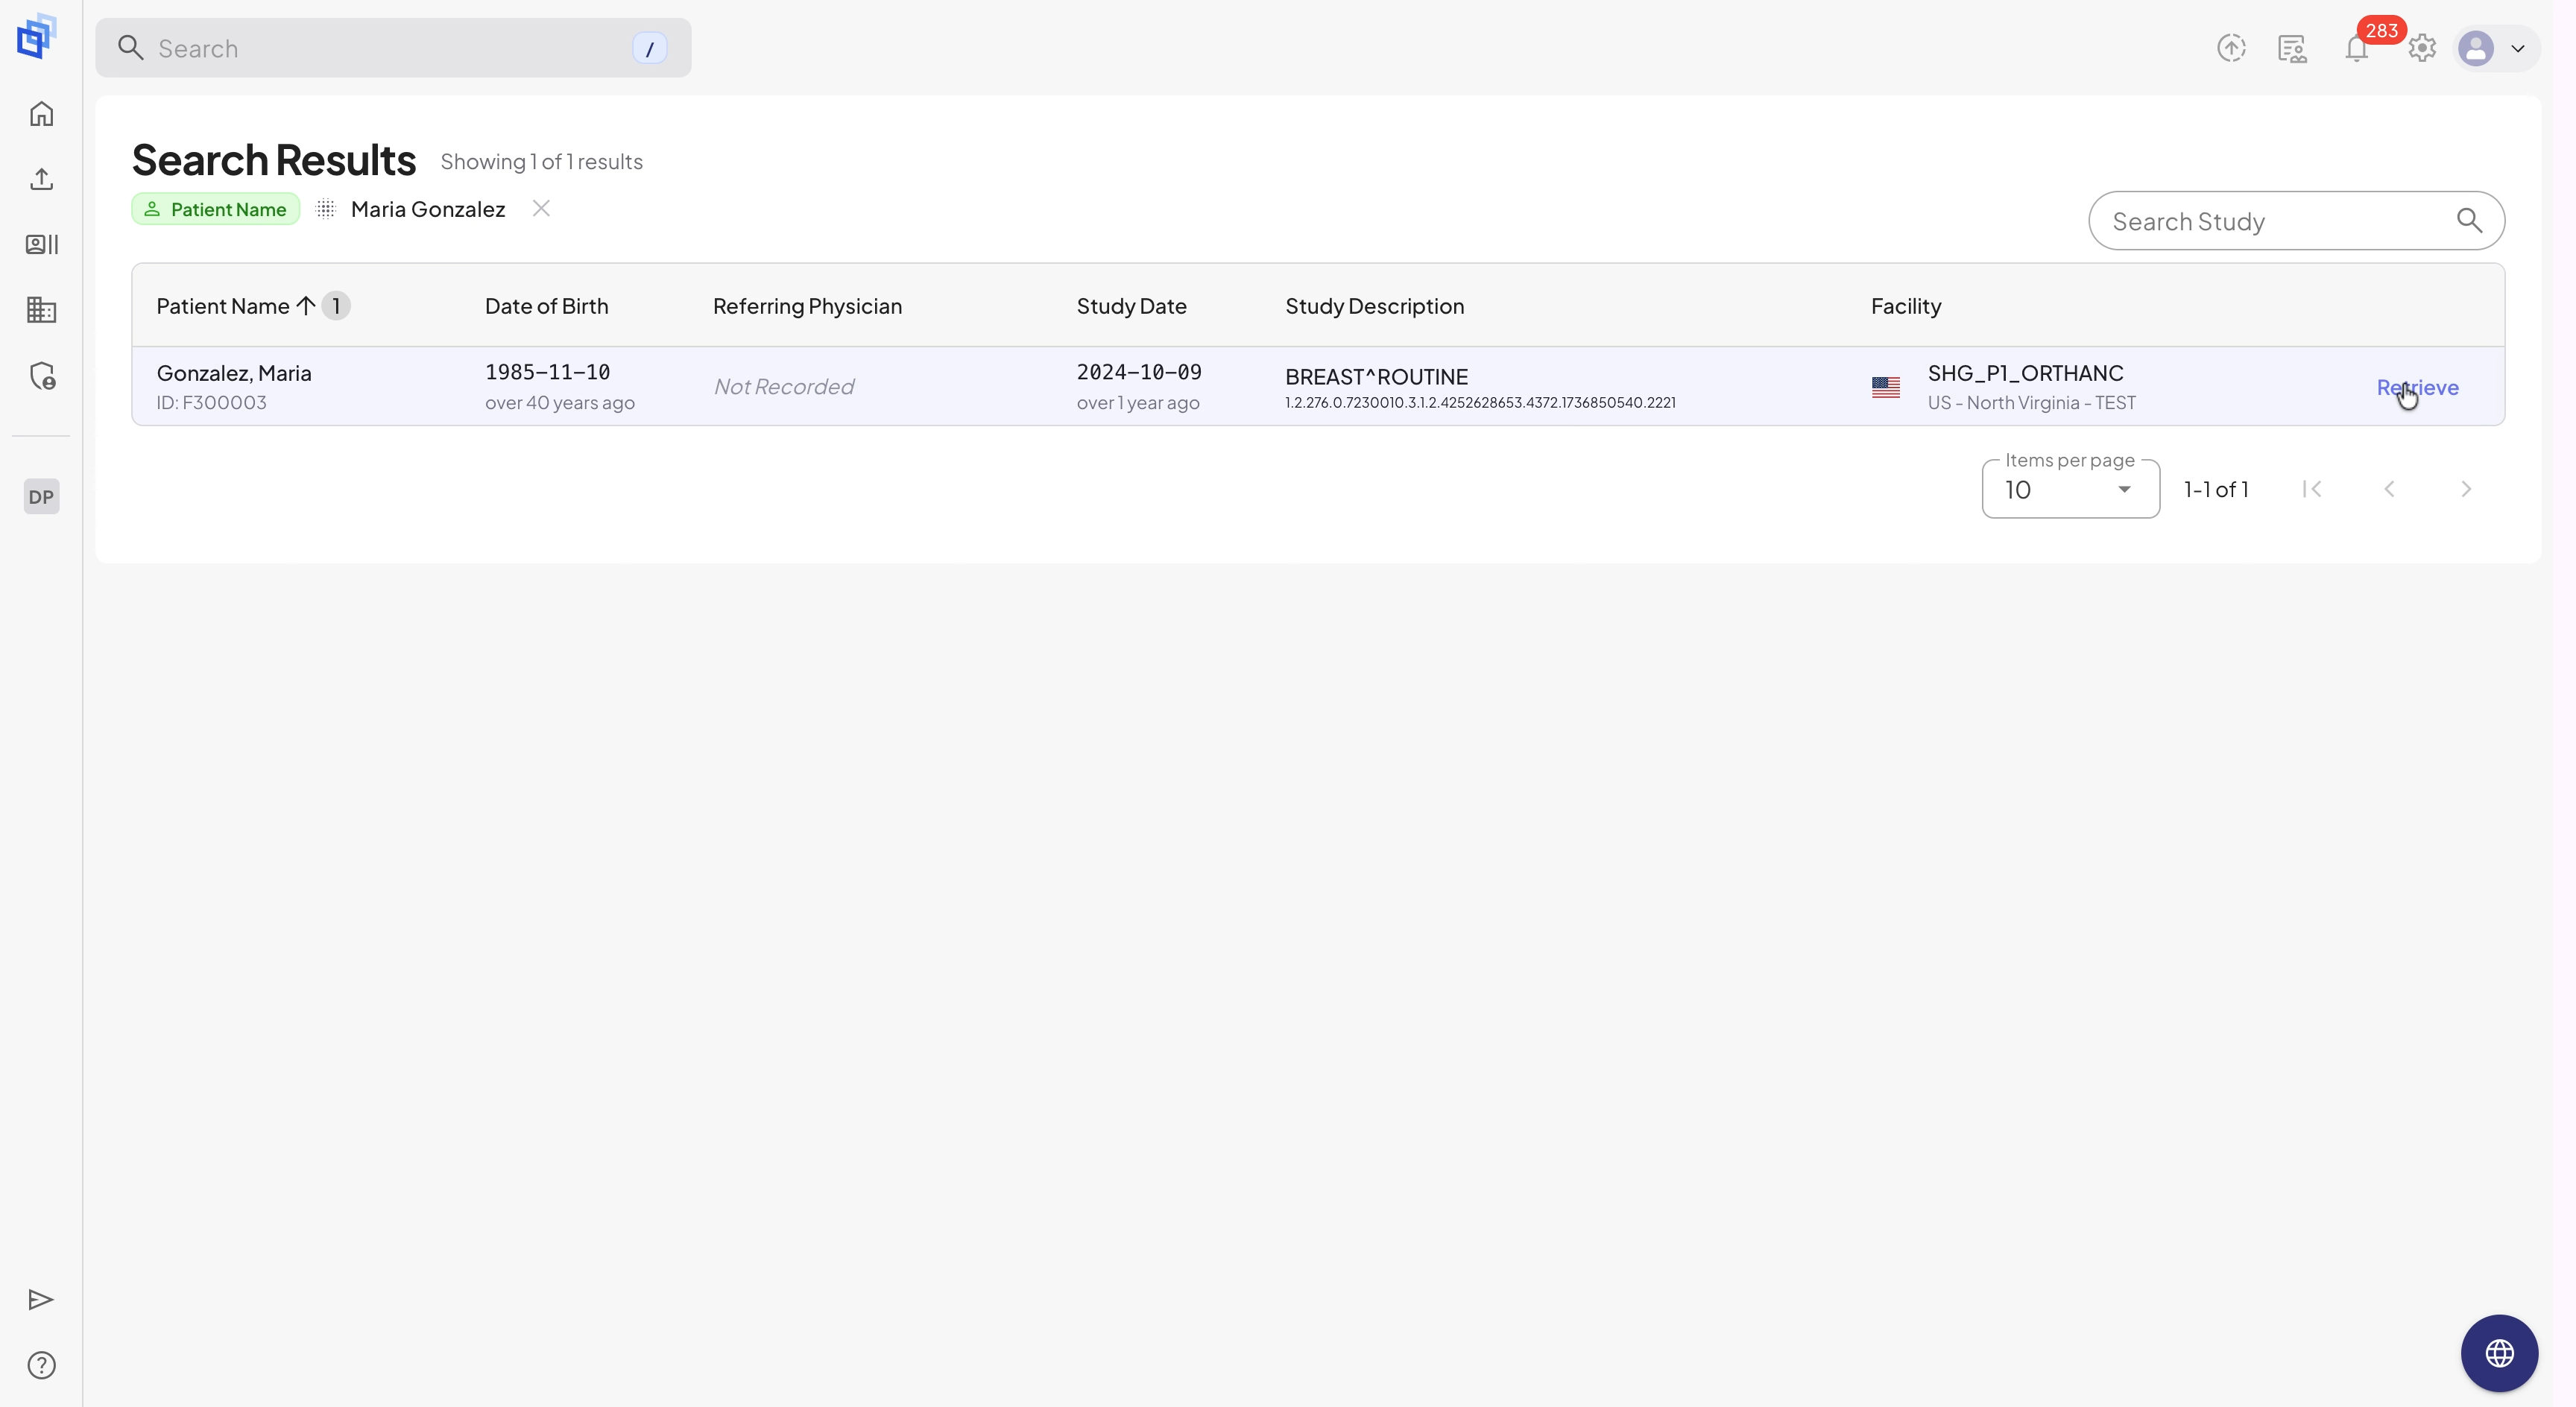
Step 6: Find the right study from search results and click Retrieve.
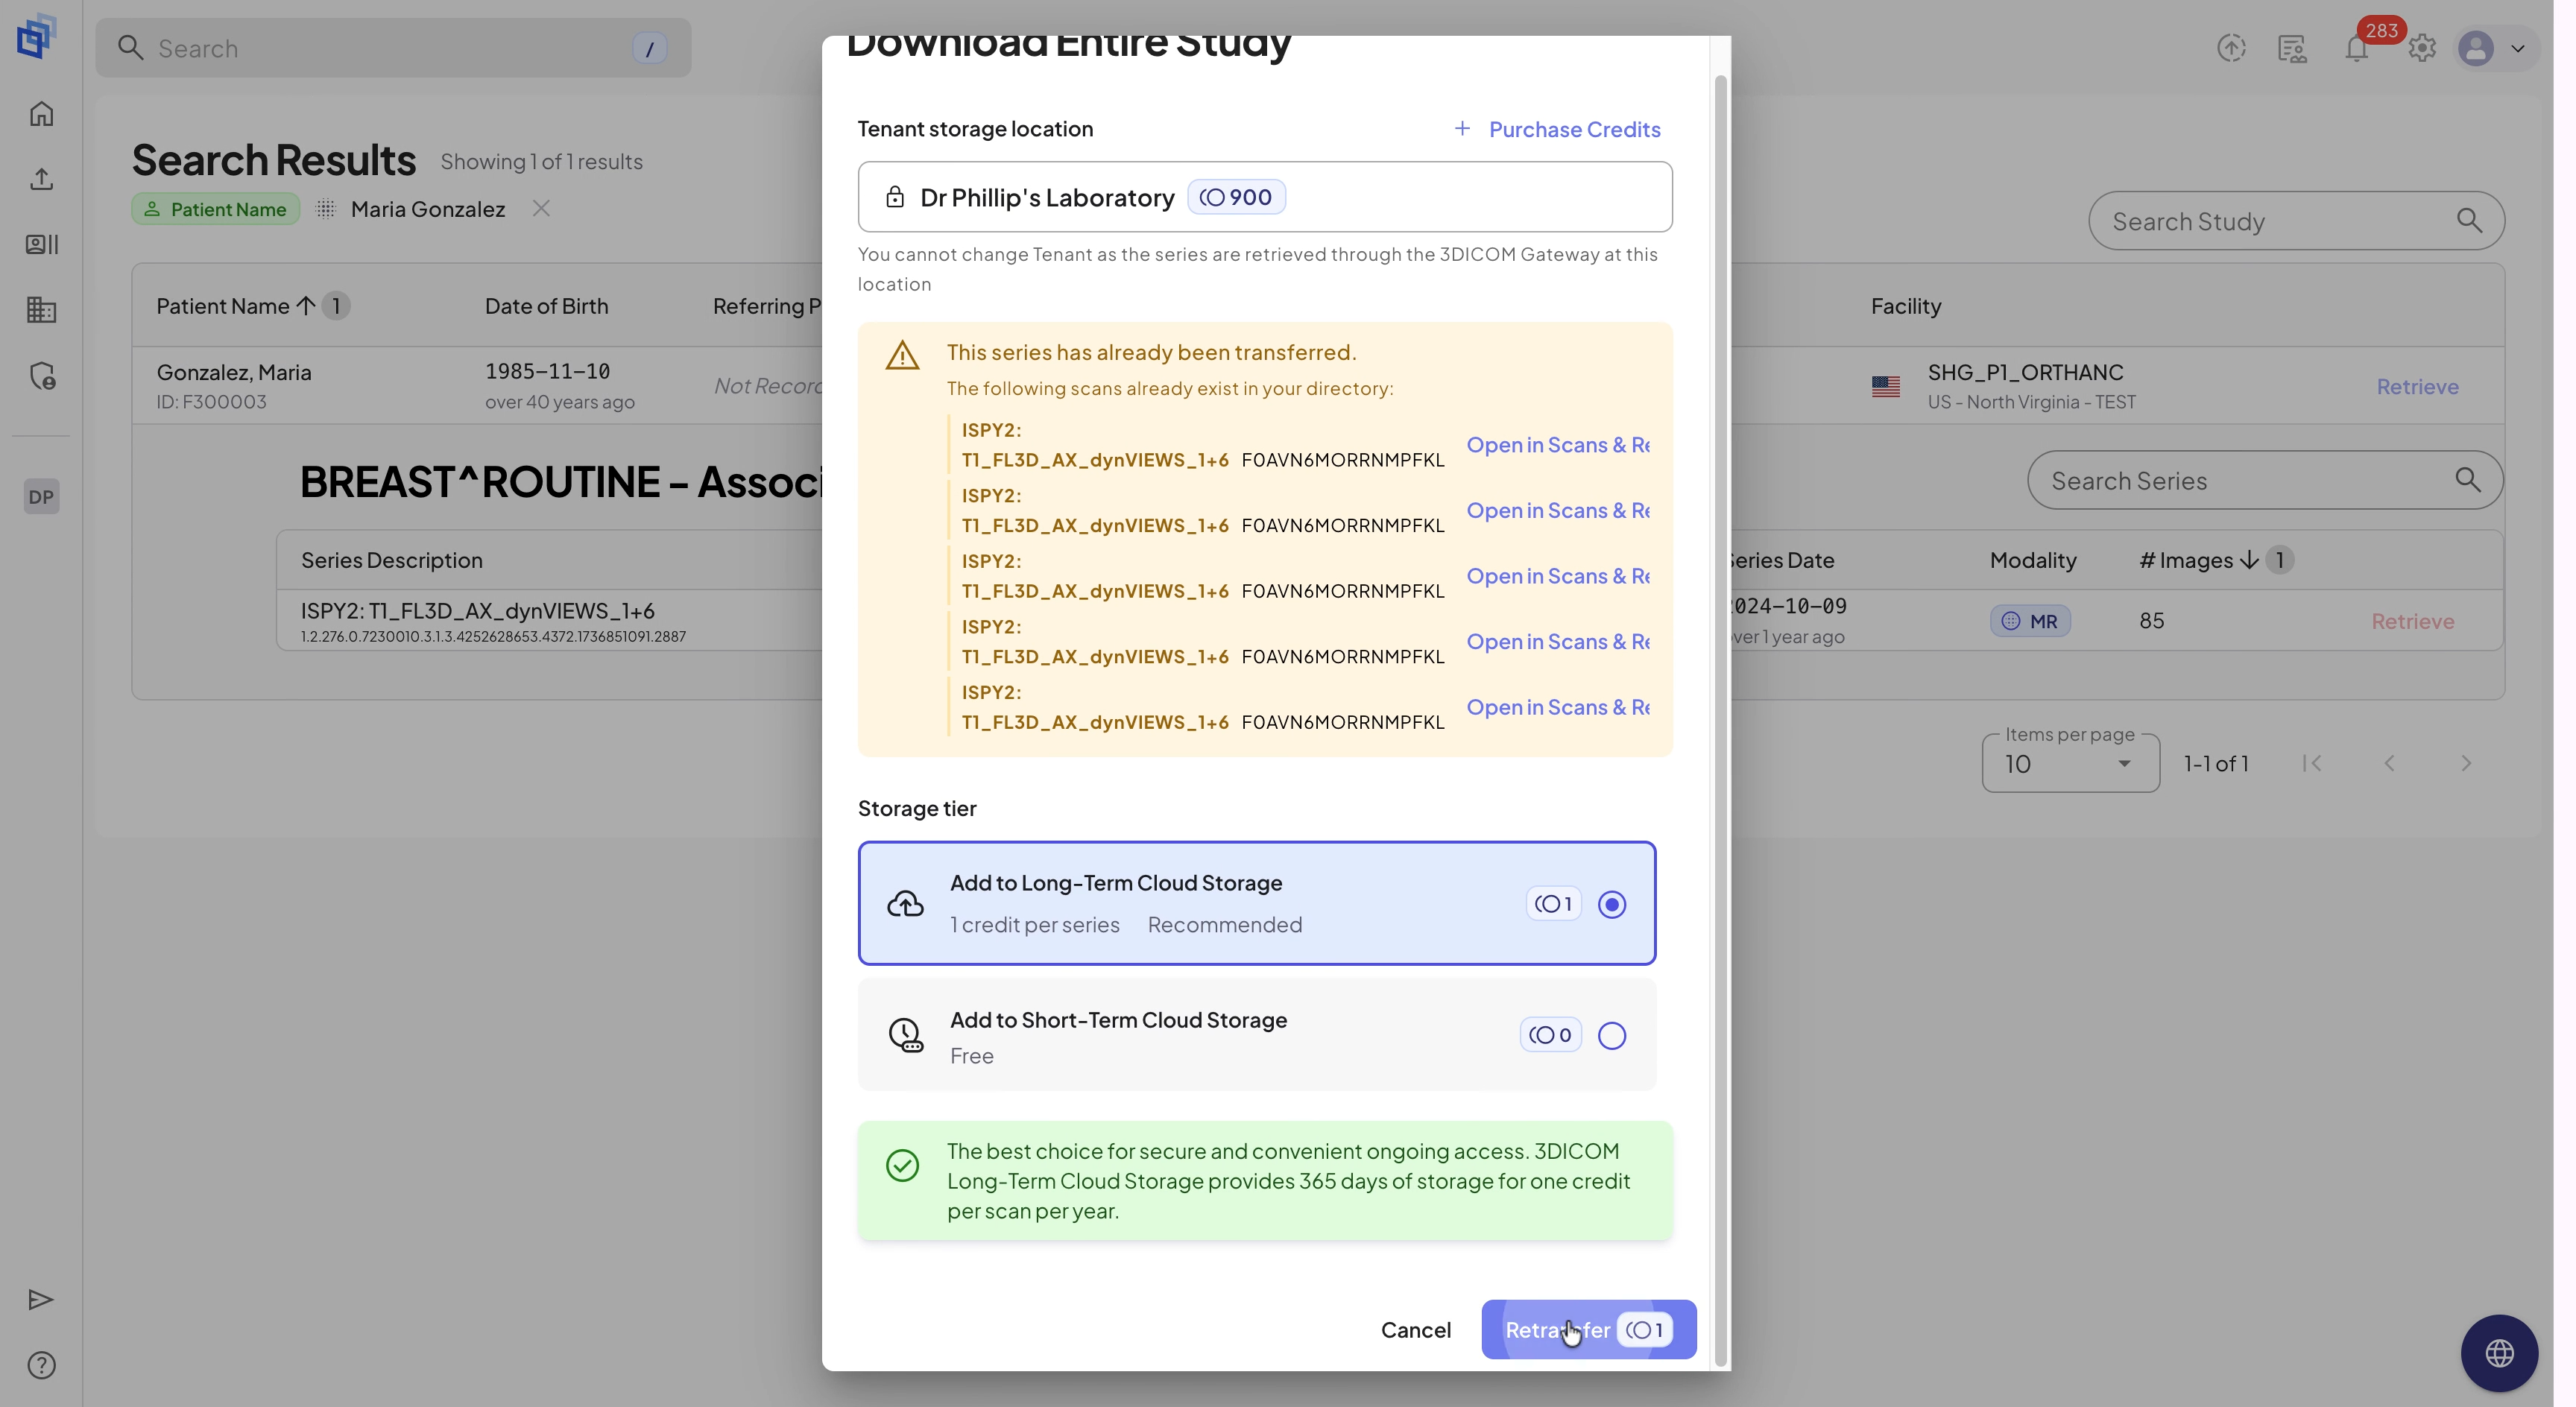
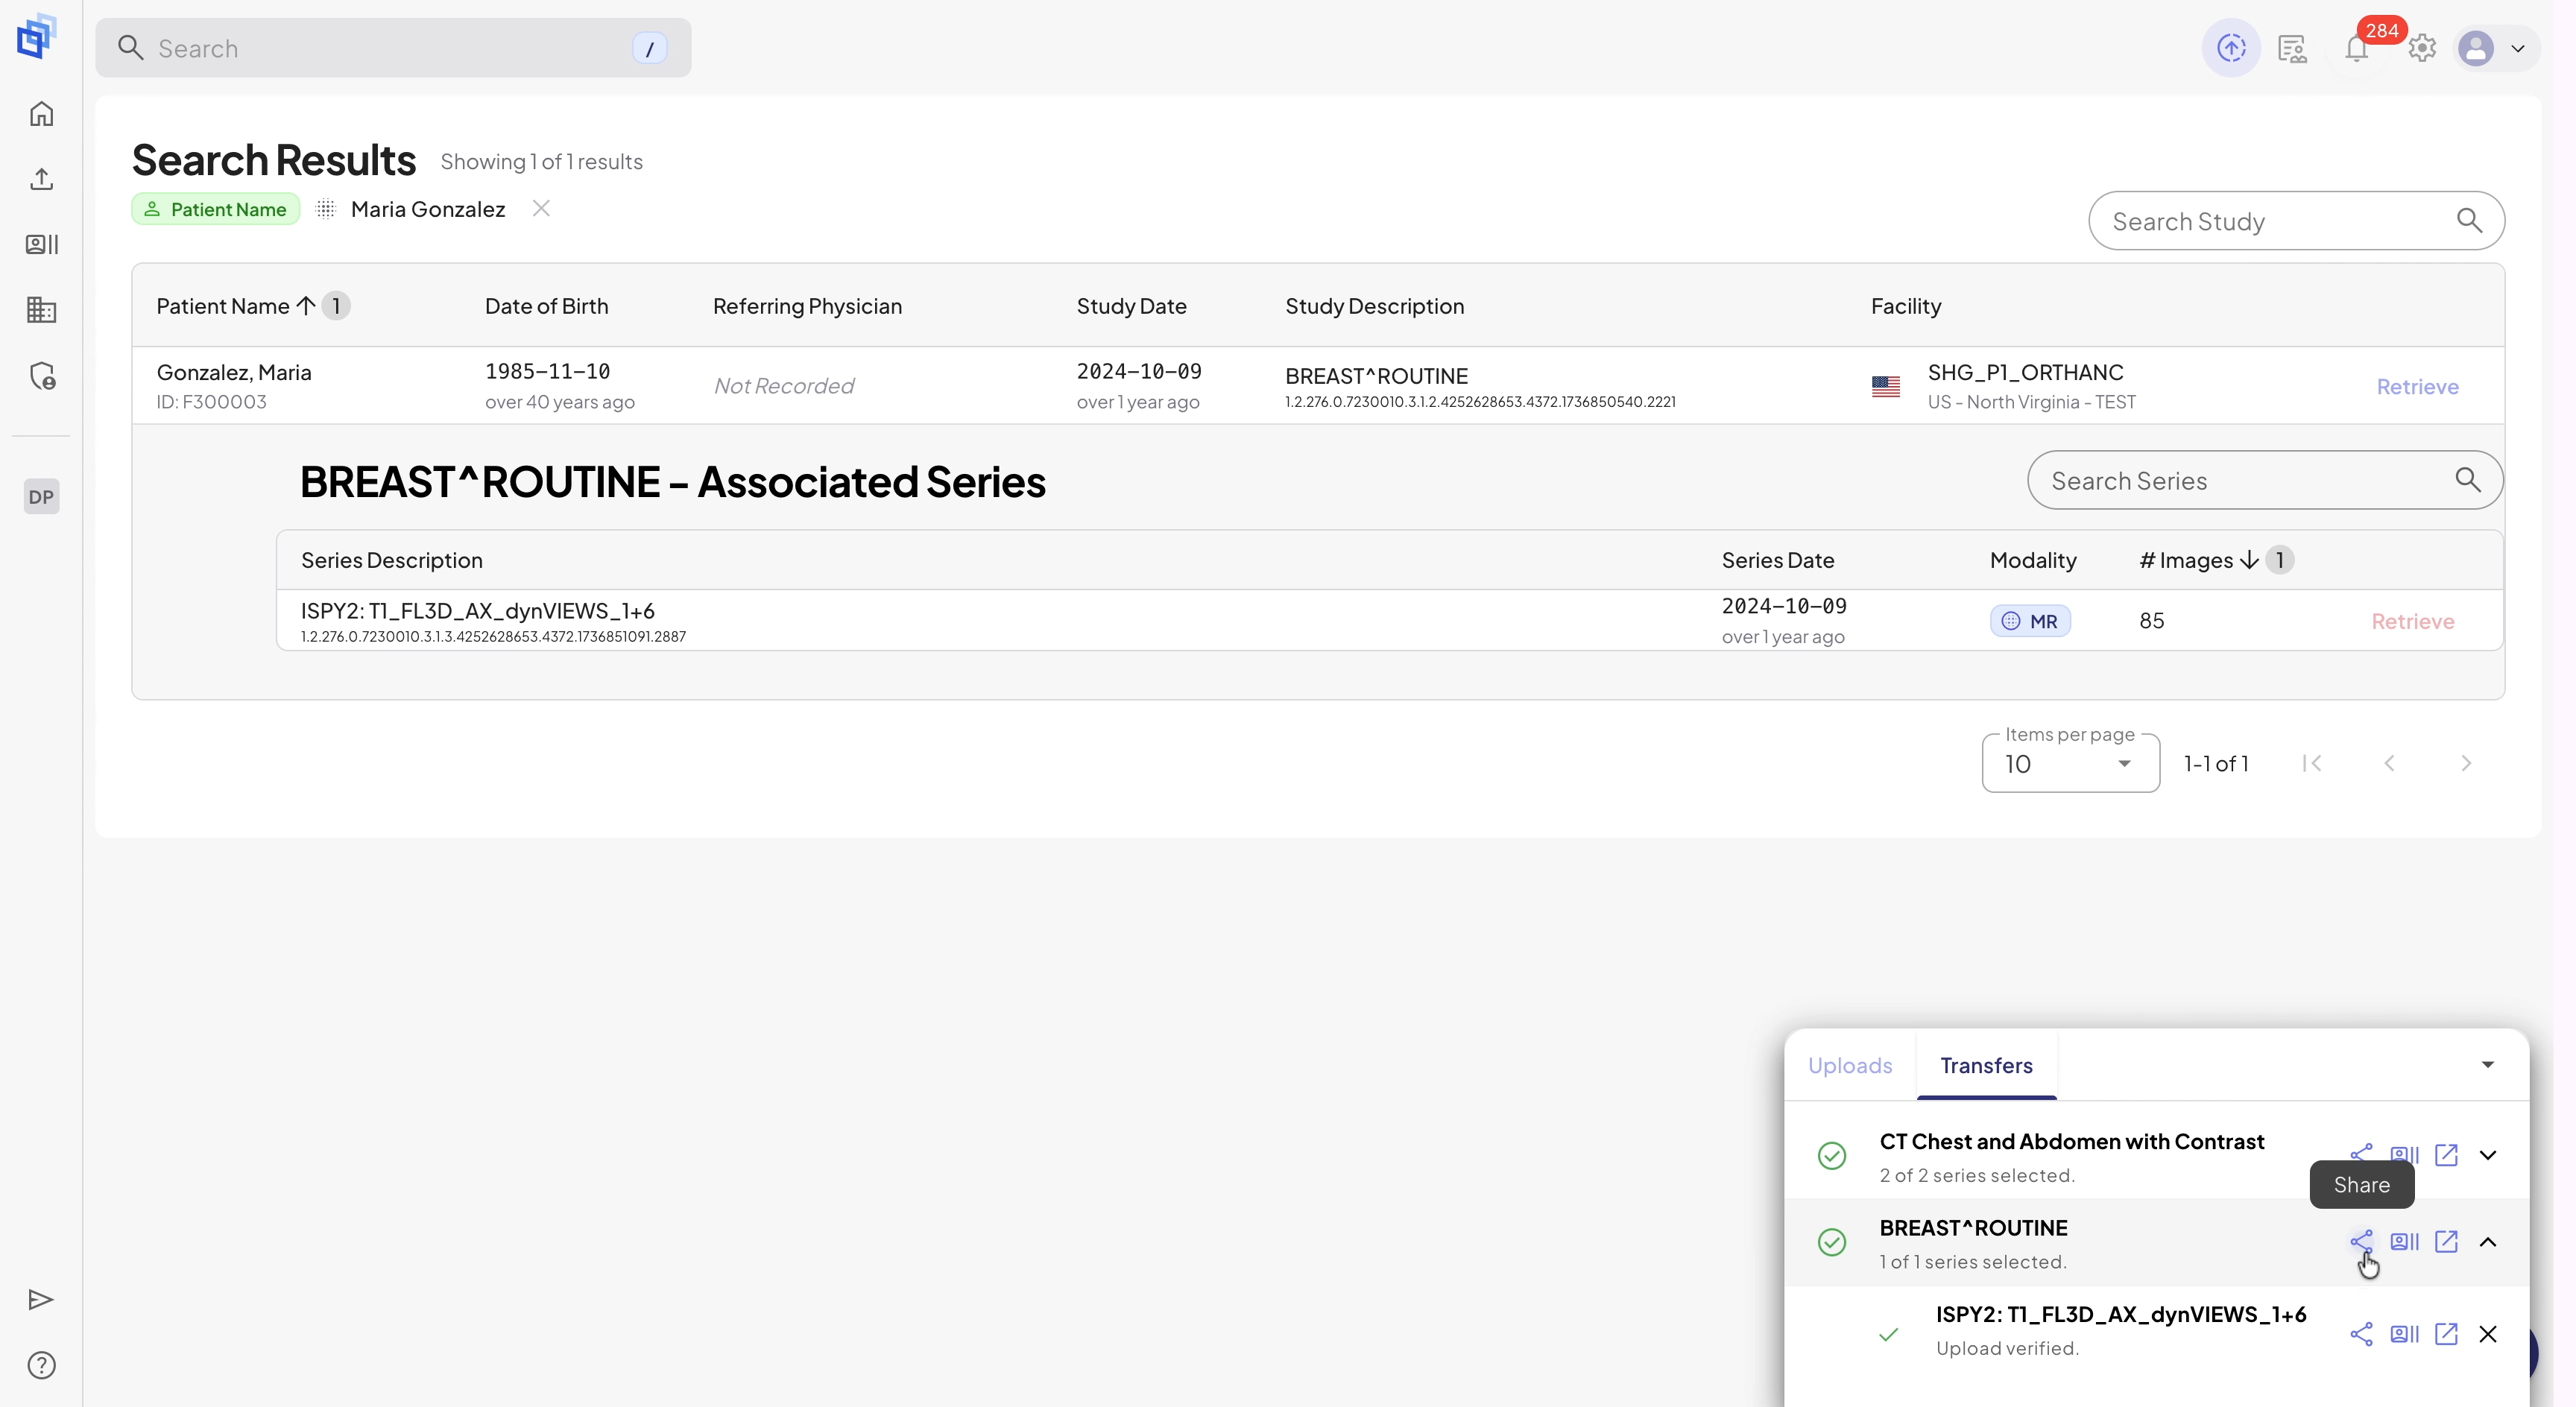
Step 7: In the pop-up window, click Transfer to send the scan.
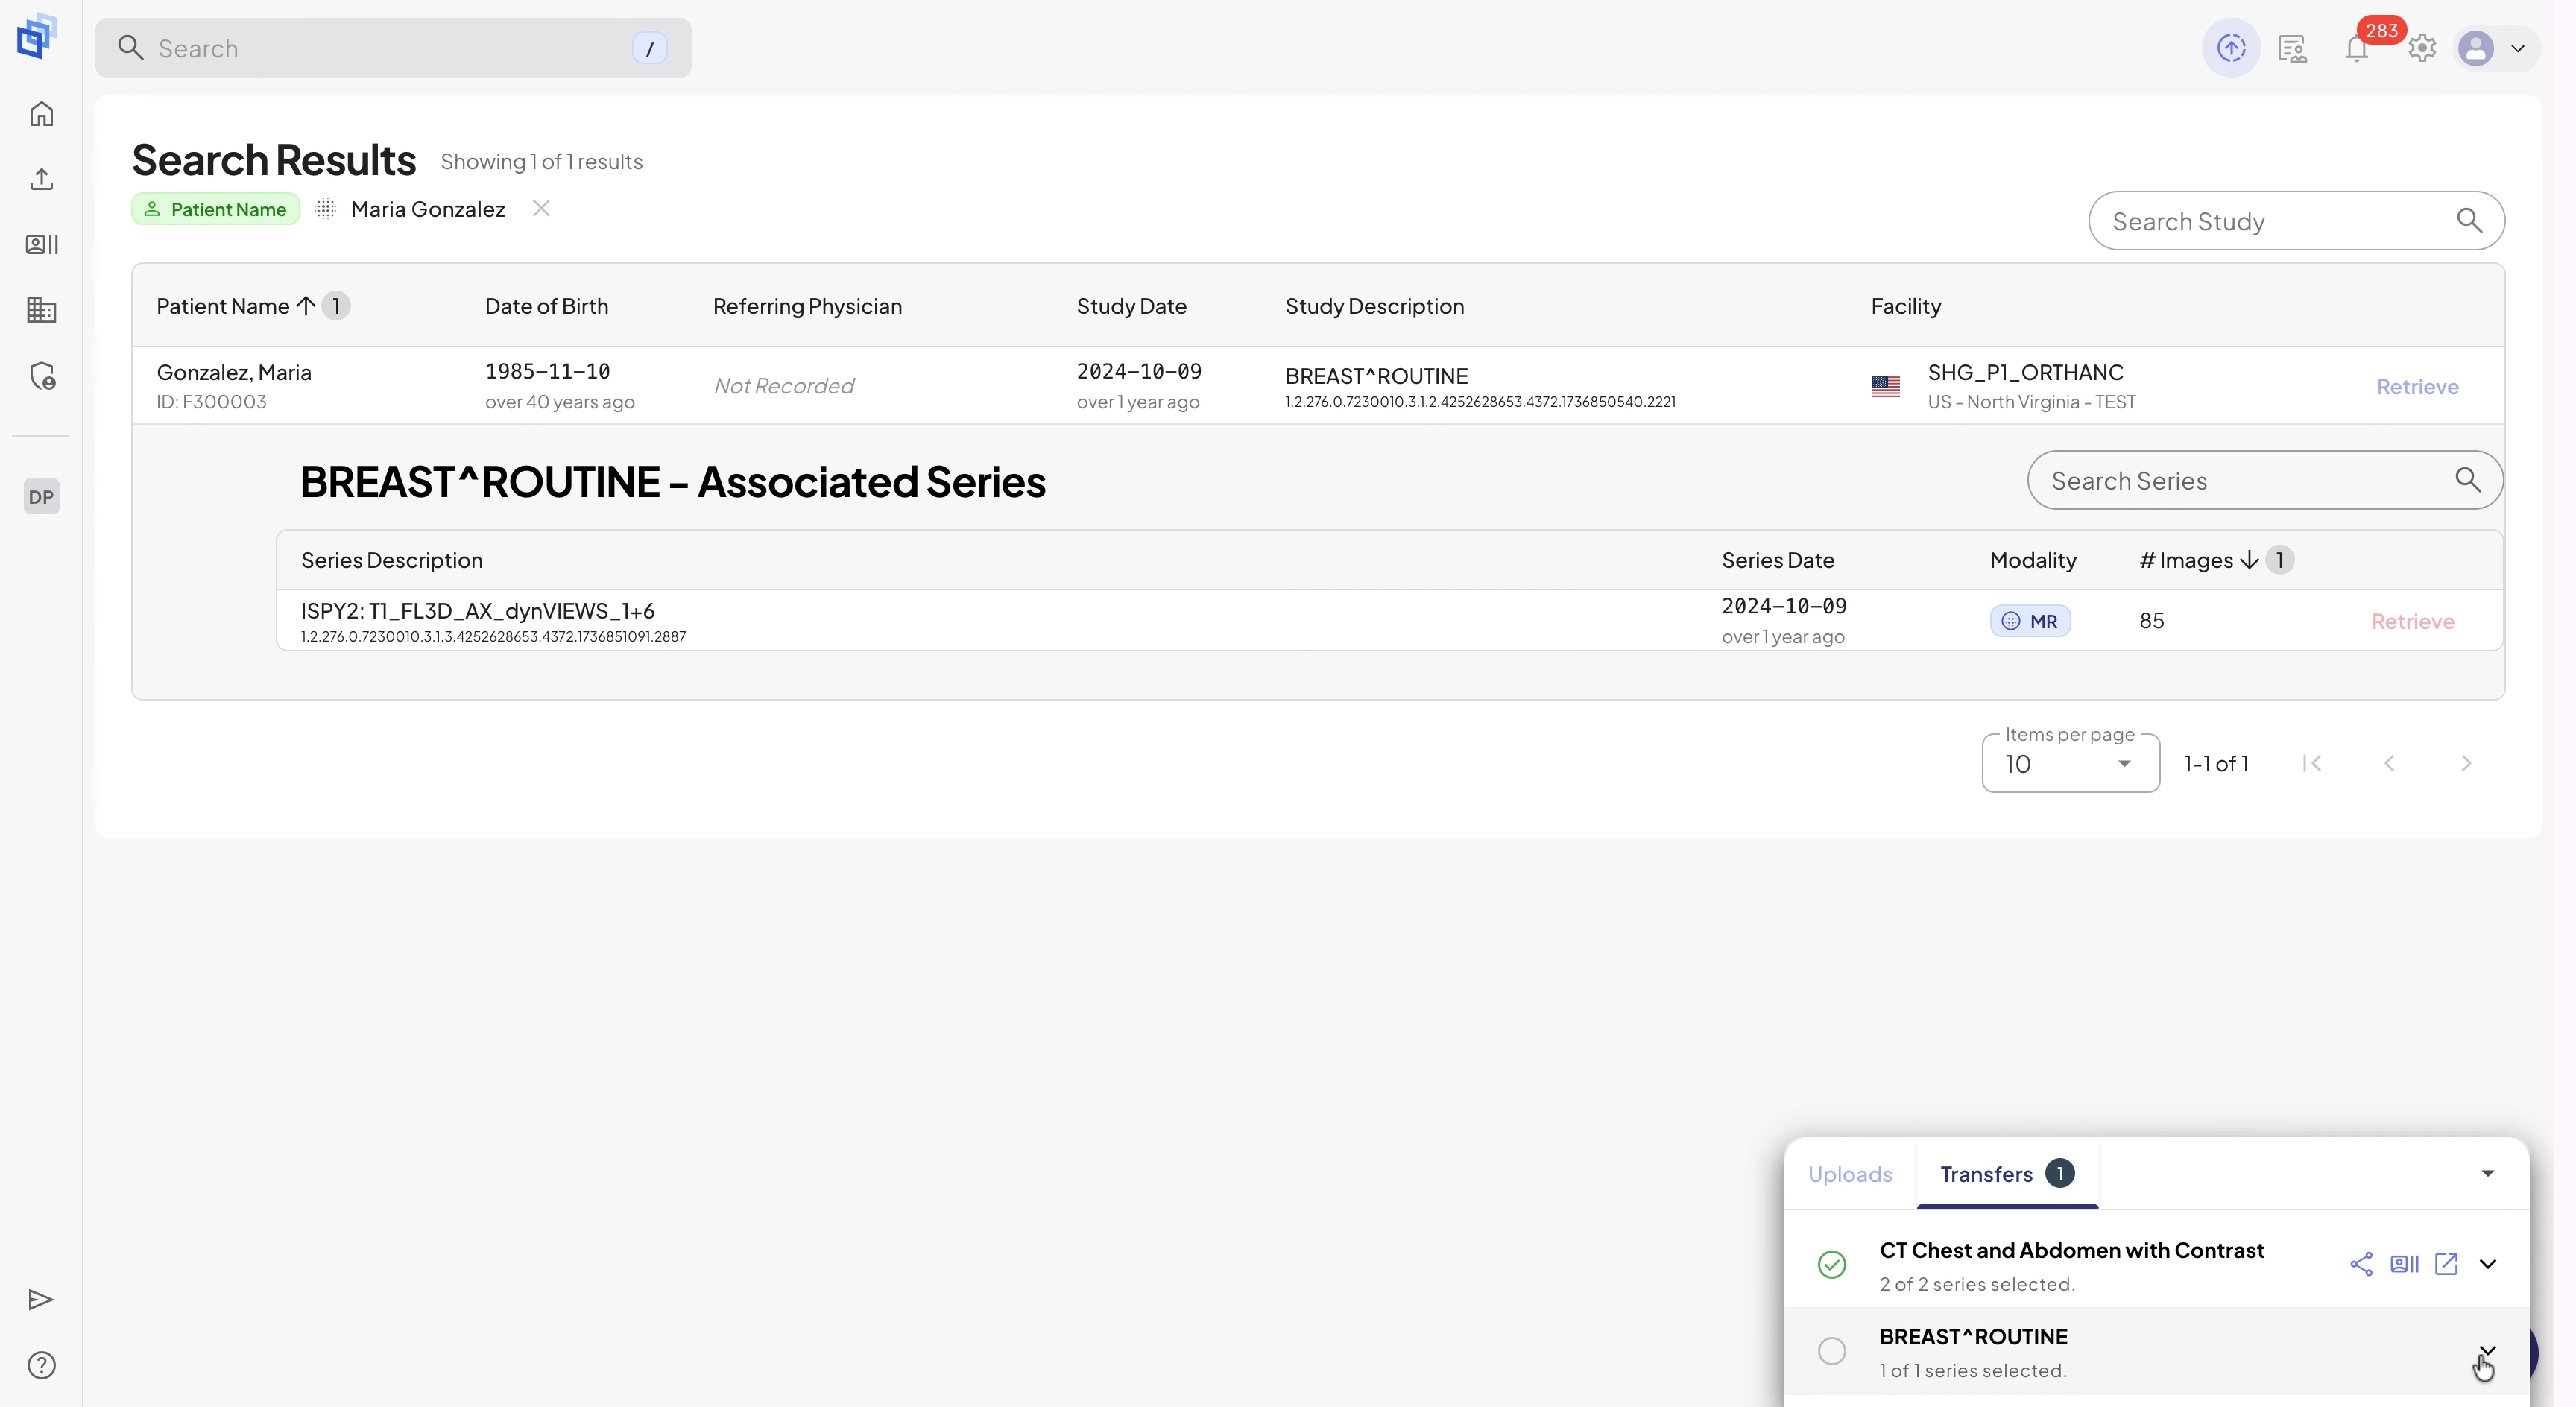
Step 8: Watch the transfer progress in the bottom-right corner. Expand the study to check how many series are included.
Step 9: After the transfer, click the Share icon next to the study.
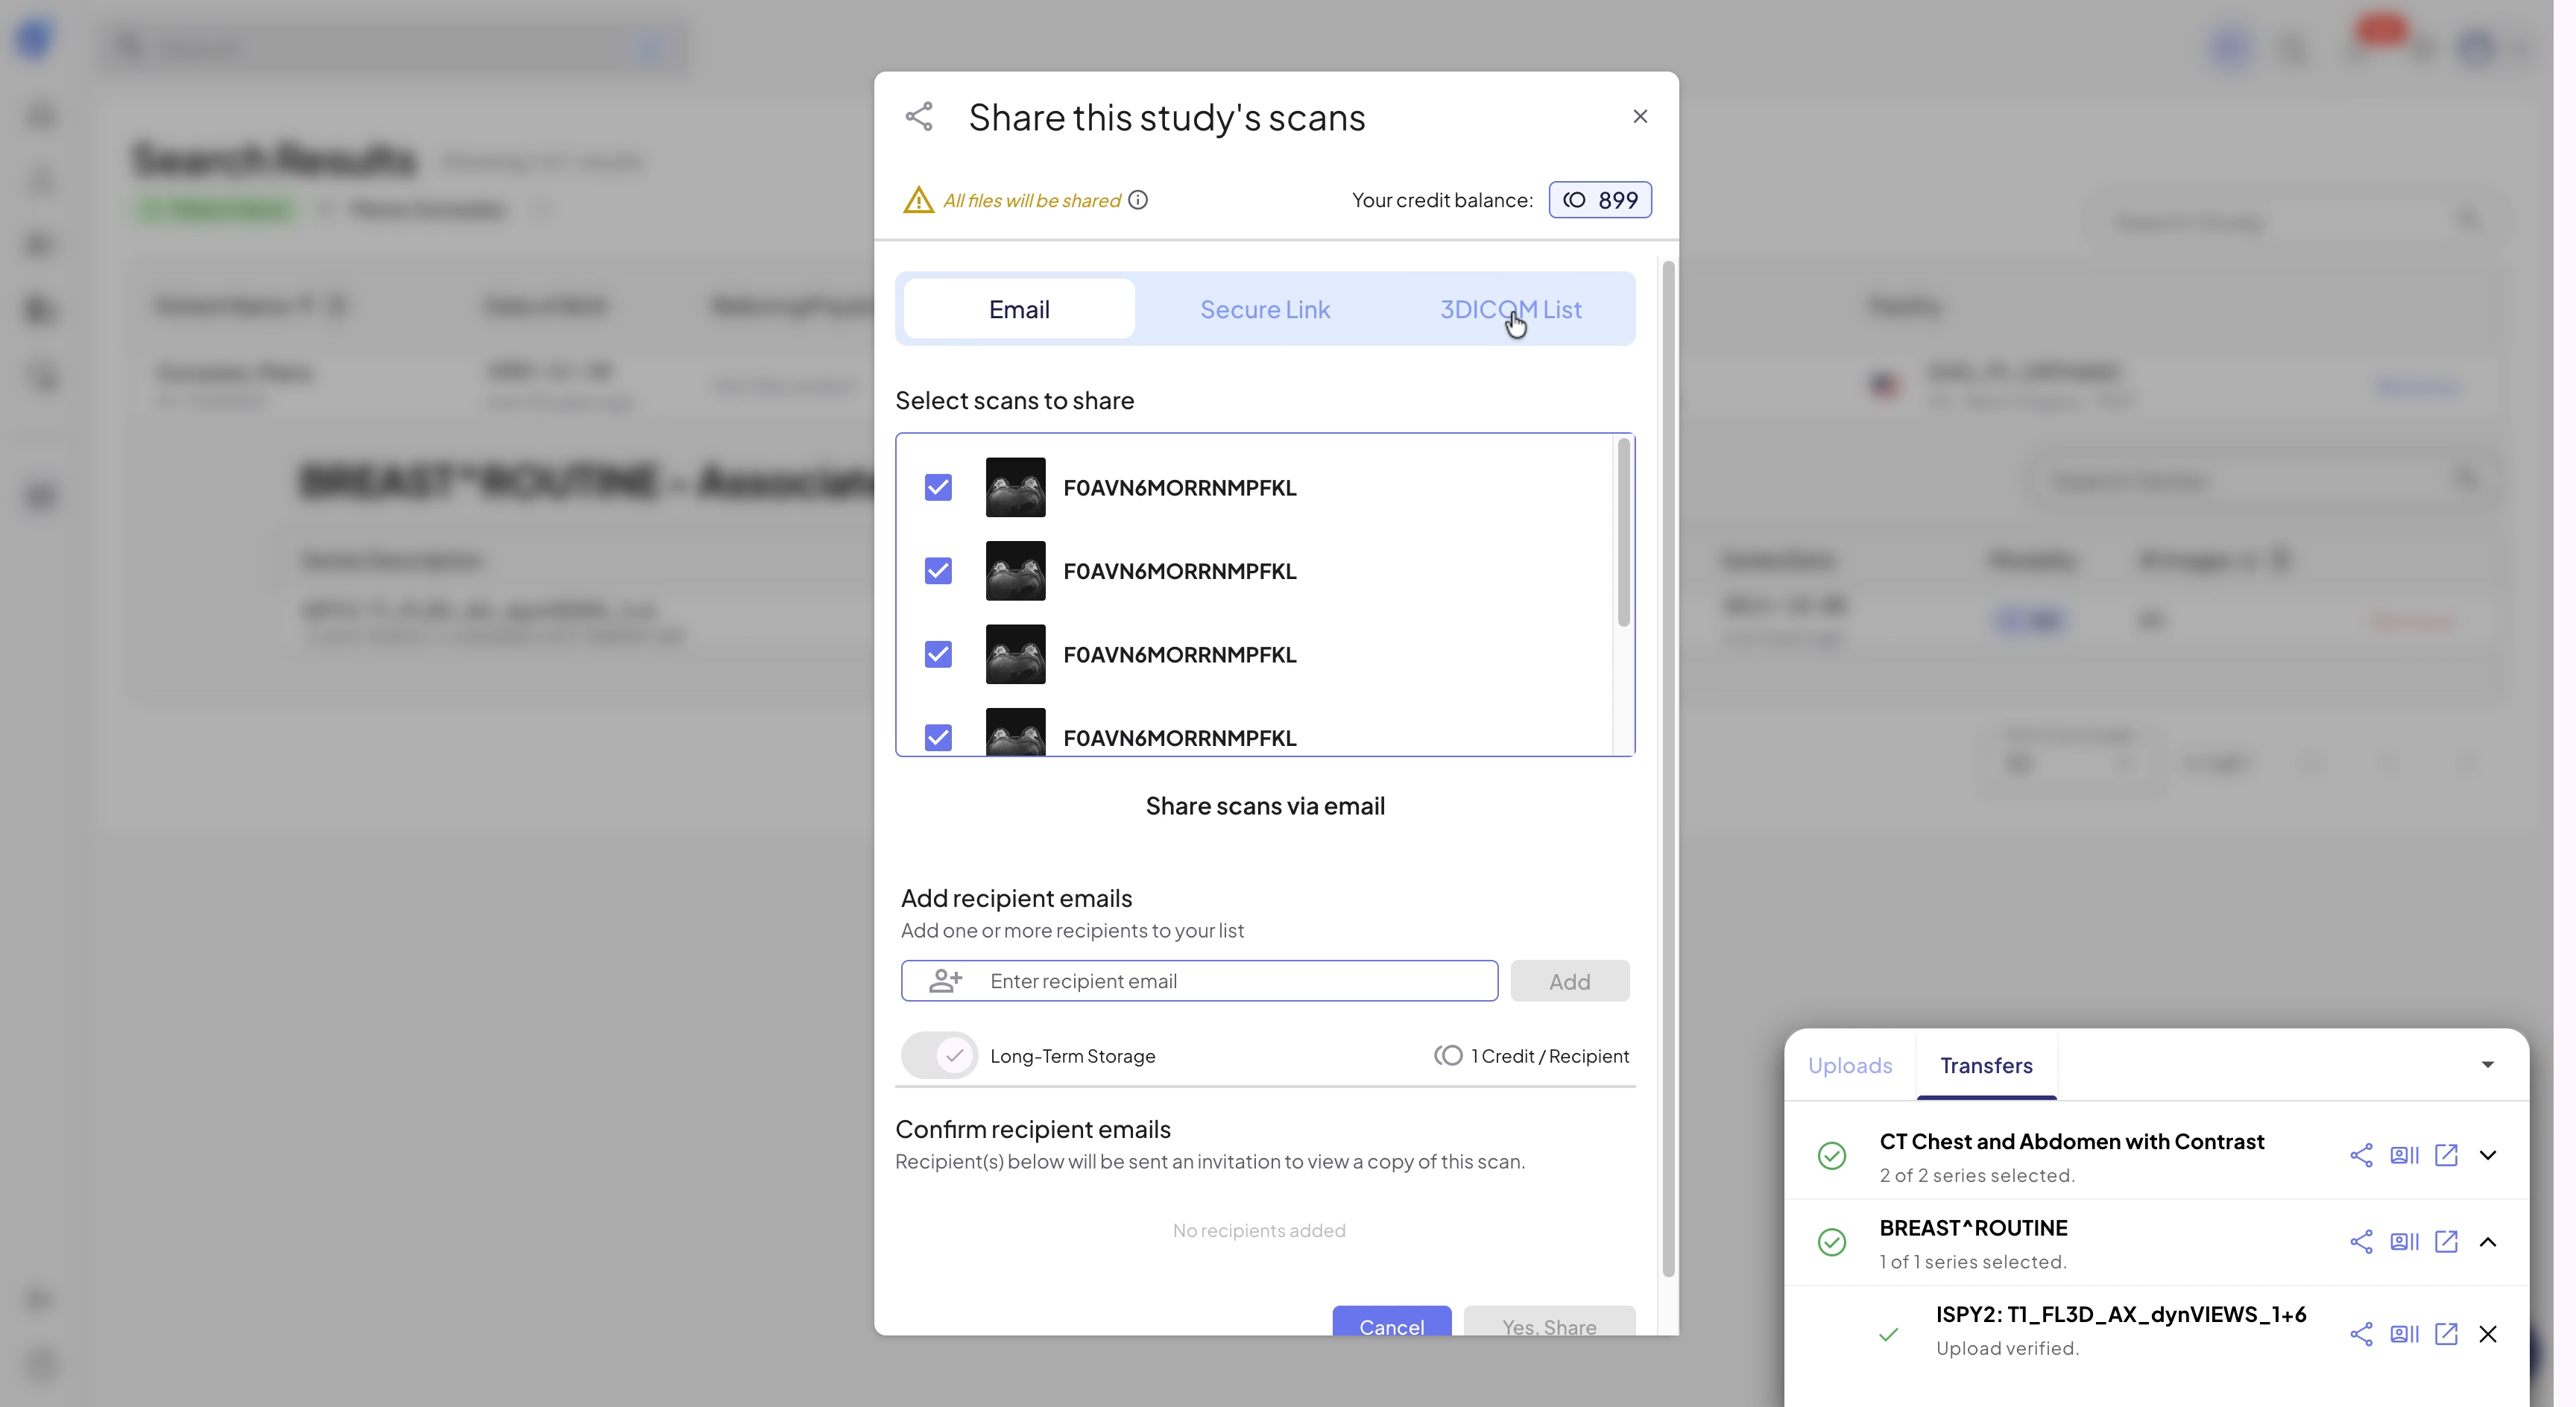
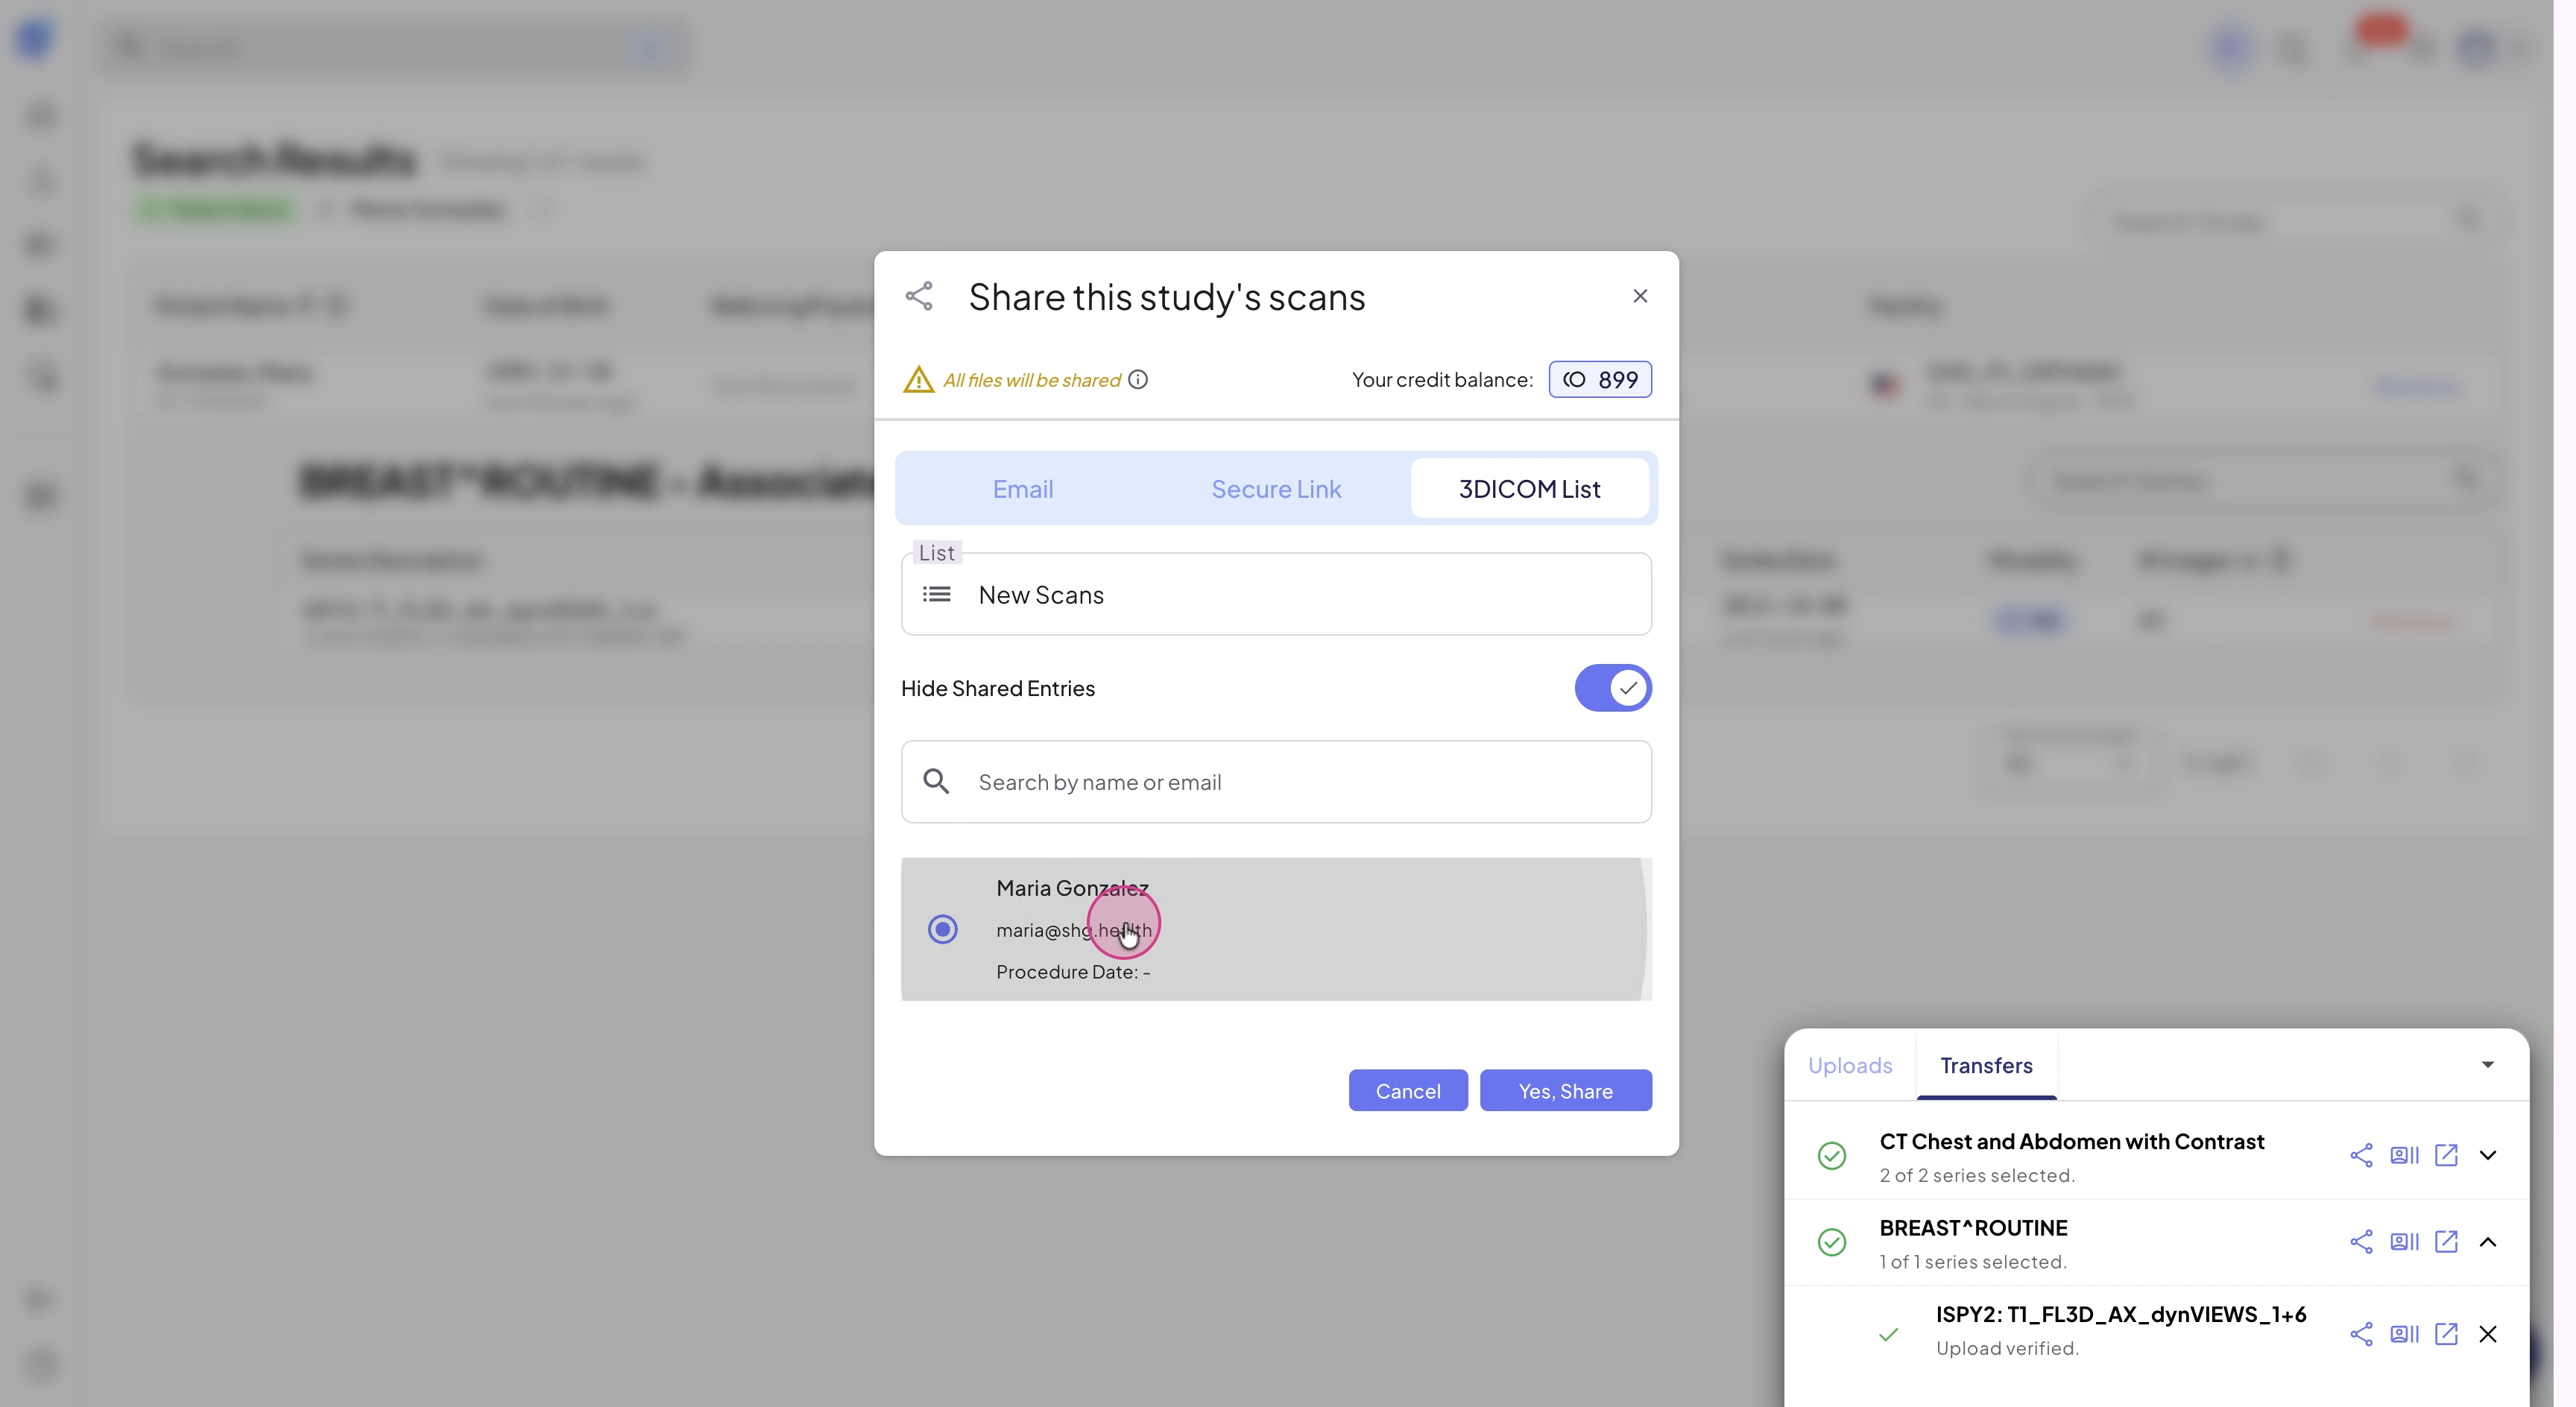
Step 10: In the Share window, set 3DICOM List as the destination, select the patient, and confirm by clicking Yes, Share.
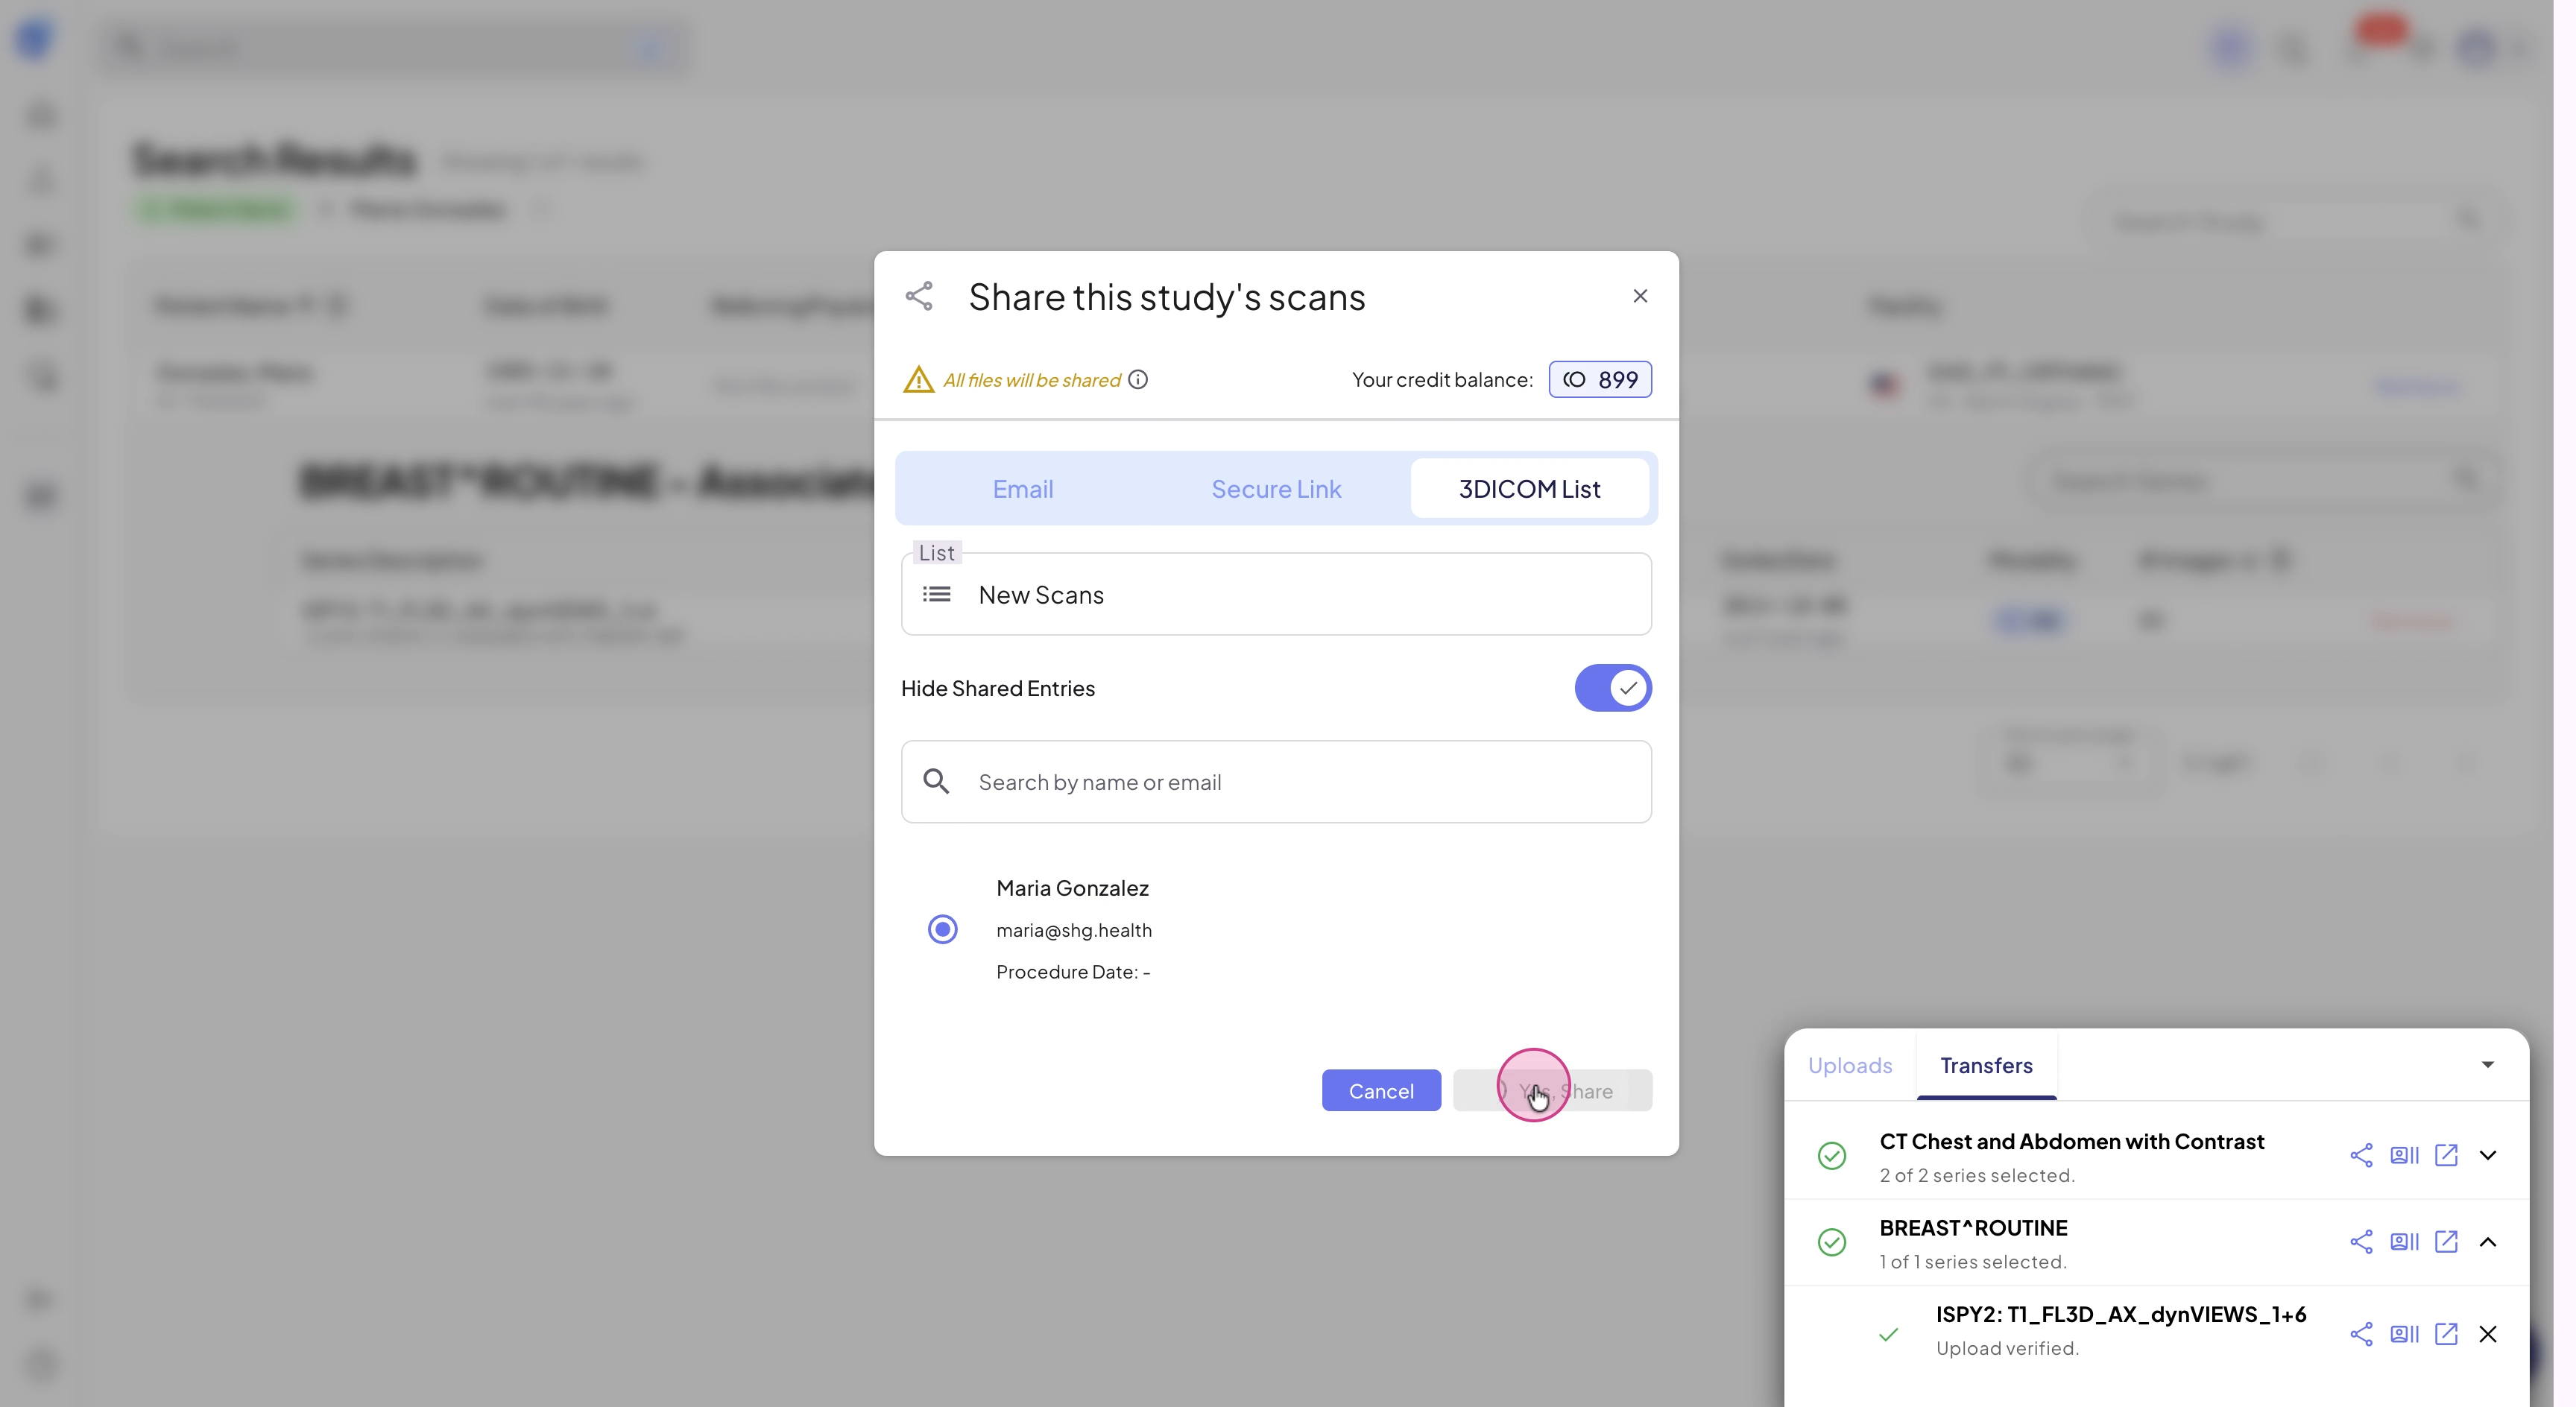
Step 11: Confirm the scan is shared: look for the patient’s status to update to Shared.
Sharing scans with 3DICOM List speeds up teamwork and ensures everyone has access to the images they need, when they need them. Always check the patient status for peace of mind that the transfer is successful.